Getting Started with Jewelry Displays?

Just starting out selling jewelry and wondering where to start with your jewelry displays? It can be overwhelming to think about traveling with your jewelry, setting up a booth, and creating an eye-catching display table! We know you want to get started selling your pieces quickly, so weÔÇÖve put together just a few tips to help you get started displaying.

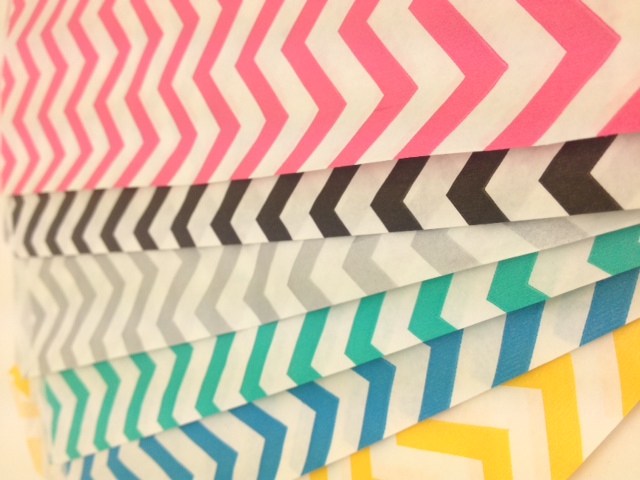
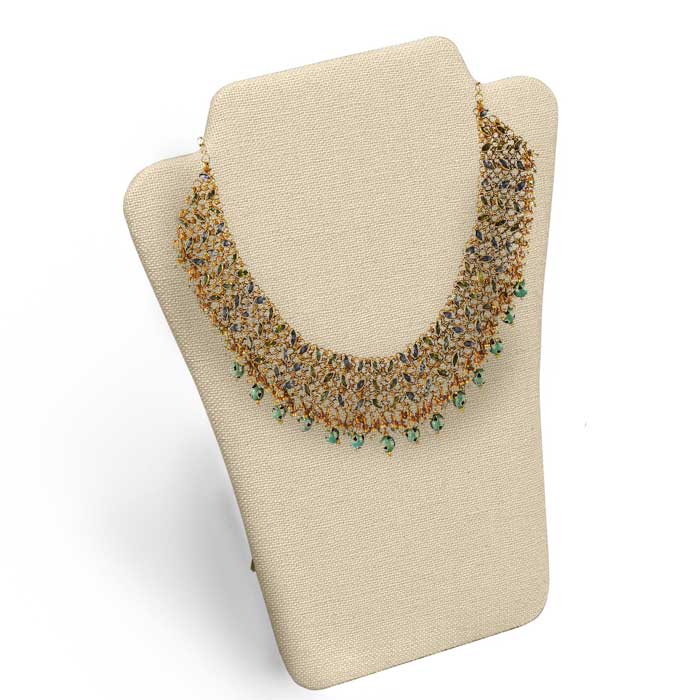
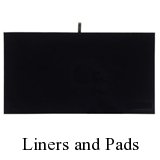
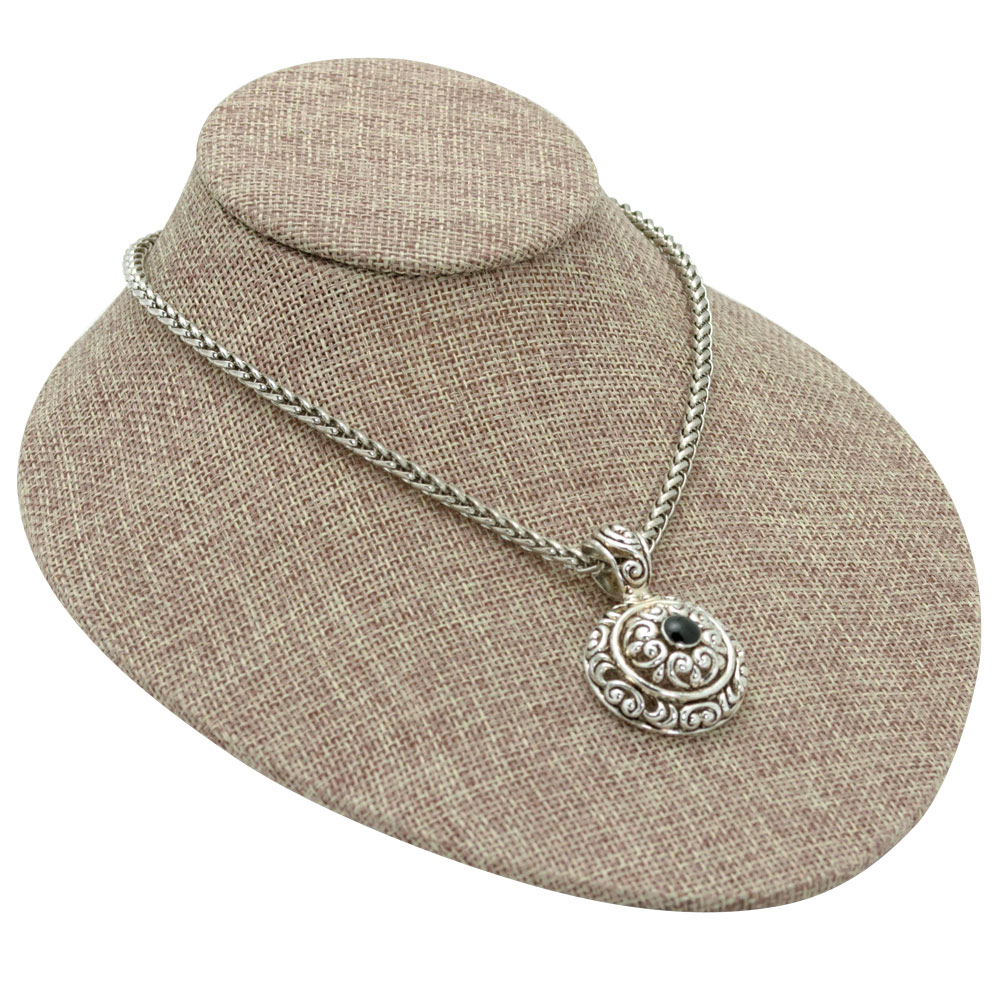
1. As a general rule, keep display colors and styles consistent. You can do this in two ways. First, by keeping the colors and materials consistent throughout your displays (all leatherette or velvet, for example, or all light colors or all dark colors). Second, by making sure your displays compliment your jewelryÔÇÖs style. If your jewelry has a summer beach feel, your jewelry would be better displayed on something like a linen display than on black velvet.

jewelry displays
Note: there is one exception to the above rule! For statement pieces, you’ll want a statement display. The focal point of your display should be a display that contrasts with your other displays and stands out.

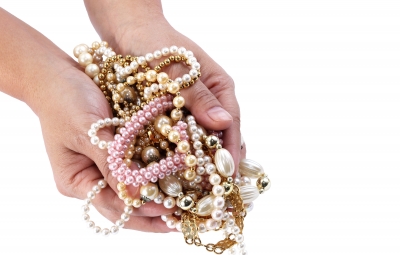
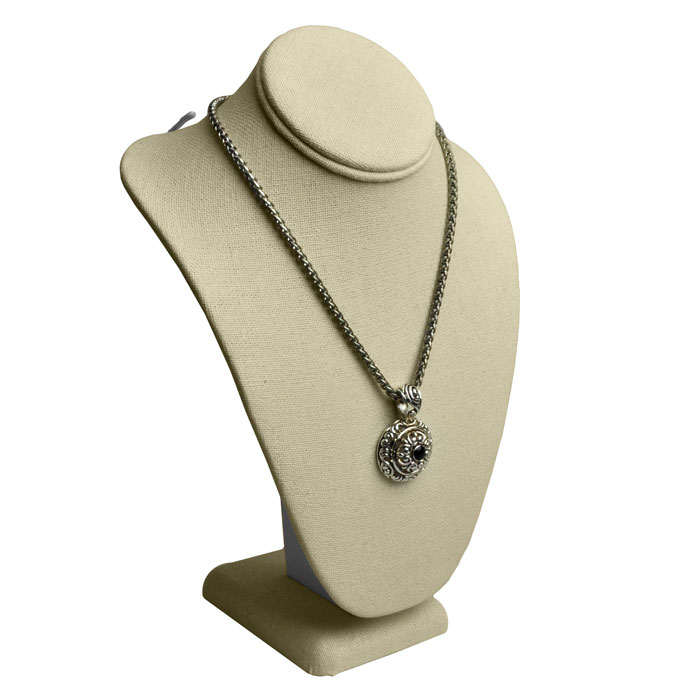
2. Use appropriate displays for your jewelry. For example, would an easel or a bust work best for your necklaces? A finger or slot display for your rings? Do your bracelets work best on a T-bar, or do they need to lie unclasped on a half-moon or ramp? Each style of jewelry is best complemented by particular display styles (and sometimes even a mix of styles).

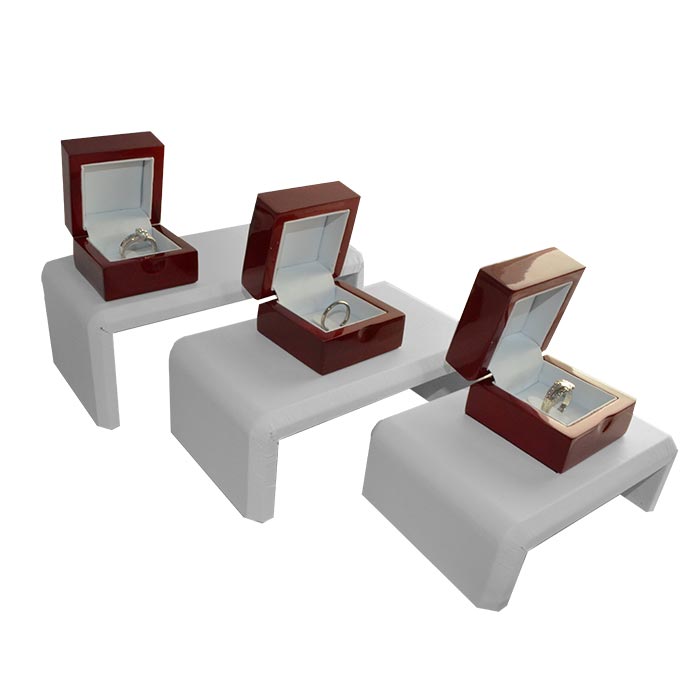
3. Remember to use different height levels. Keeping varied height levels throughout your display table (especially in groups of three with the ÔÇ£high, higher, highestÔÇØ elements) will help your customers be able to naturally read your table and easily find what you have to offer. By having everything on the same level or same height, itÔÇÖs more difficult to differentiate between products and your customers will have a harder time finding items–which means they may give up and look elsewhere.

Although these are a few general rules that help to make displaying consistent and simple, the more you go to shows and set up your displays, youÔÇÖll figure out what works for you (and youÔÇÖll come up with tricks of your own!). Best of luck as you get started displaying!

Hello, Summer!

Spring is nearly over and summer is just around the corner! Our thoughts have been full of summer displays and packaging ideas and our inspiration is coming from our new burlap jewelry display line and the chevron merchandise bags. What lovely items have been your inspiration this year?

The burlap jewelry displays are just dreamy a grainy, textured surface speckled with brown and beige makes these displays overflow with charm and character. Deep jewel tones really stand out against this background (were talking about those purples and greens and blues), although, if were really being honest, just about any jewelry style will be complemented by the burlap displays. From shabby chic to indie to rustic elegance, these displays will make your style stand out even more.

burlap jewelry display
Tall burlap necklace bust

And those chevron bags? Can we just say y-u-m? If your head isnÔÇÖt spinning with thoughts of summertime fun after looking through these bags, we donÔÇÖt know whatÔÇÖll get you there. They make us think of warm air, picnics on the beach, and juicy slices of watermelon. Each one of these six different colors makes us think of another summer memory. Pair any of the colorful chevron bags with either tissue paper or raffia for a cheerful summer packaging look.

chevron gift bag
Pair with raffia for the perfect summer look!

Let these beautiful burlaps display and chevron merchandise bags inspire your summer displays and packaging, and check out our full inspiration on our Hello Summer board on Pinterest.

Ring Displays for Wedding Season

ItÔÇÖs springtime, and love is in the air! ItÔÇÖs wedding season, and we know youÔÇÖre putting together some great ring displays. Want to know some of our favorites?

Finger Displays. This type of display is excellent for showing ring sets, or a line of wedding rings or bands. These work well in a showcase or on a jewelry display table, and come with a few options. ThereÔÇÖs the single ring finger display, the double, the five-finger and the 12-finger ring display. The smaller finger displays are best suited for wedding sets, or special engagement rings you want to set apart from the others. The larger displays work very well for displaying different styles of rings or organizing them by cut, carat, or color.

ring finger display
Dual ring finger displays are perfect for wedding sets!

Jewelry Boxes on Risers. This works very well for window displays and creates an elegant, eye-grabbing look that will draw your customers in for another look. Find a riser set and some high-quality jewelry boxes that matches your decor, arrange in your front window and display your rings!

jewelry risers
Jewelry boxes on risers are a great ring display!


Ring Risers. There are risers that are specifically created for rings. They typically have a ring flap, and you place the ring behind this ring flap to keep it secure. This look works well for both window displays and even inside of a showcase.

ring riser
Black velvet ring risers.


Slot Displays. This type of display is ideal for use within a showcase and perfect for  displaying a line of engagement rings or wedding bands.  These are typically angled displays, which makes it easier for your customers to view and browse your jewelry. Rings easily slide into the slots on the display, and are easy for you to remove and show to interested customers.

slot ring display
Five slot ring displays are excellent for a line of engagement rings or wedding bands.


Those are a few of our favorites! What are your favorite ways to display rings for wedding season (or any time of the year)?

How To Move Old Inventory

moving old stock
moving old stock
Image courtesy of Pong / FreeDigitalPhotos.net

Whether you do shows, sell your jewelry online, or have a storefront, ┬áweÔÇÖre guessing youÔÇÖve had inventory or stock that just doesnÔÇÖt seem to be moving. What are some good ways to get these items out the door? Keep reading for our tips on how to move old inventory.

1. Discounting. Consider having a discounted section, and placing these items in a specific location in your booth, whether it be a box, a stand, or a special spot on your jewelry display table. This will appeal to the bargain shoppers and might help move your inventory more quickly.

2. Featured Items. If you donÔÇÖt want to discount your products, consider creating a Featured Items section and place them here. Presentation is a key element in selling, and you can appeal to your customersÔÇÖ desire for something special by making a big deal out of these items. By bringing extra attention to these items (whether itÔÇÖs a unique jewelry display, extra table space, pretty signs, etc), you can help increase the perceived value of these items.

3. Giveaway. Consider running a contest or giveaway, and use some of your older pieces as the prize. There are a lot of ways you can do this! If you’re doing ┬álot of shows, have a giveaway in which you enter everyone who signs up for your newsletter. If you have a lot of engagement on Facebook or Twitter (or are wanting more), you can try a ‘Like (or Follow) to Win’ type of contest.

4. Repurpose the components. Examine the items that arenÔÇÖt selling. Do you still love them and stand behind them 100%? If yes, keep it, and try one of the other methods weÔÇÖve mentioned! However, if you donÔÇÖt, consider repurposing the piece. Take it apart and use the components to make new items, or tweak the product into something new.

5. Raise the price. Yes, you read that correctly! This little trick wonÔÇÖt work with everything, so use it sparingly. If you have a piece that seems to get a lot of looking or touching, but that just isnÔÇÖt selling, consider raising the price. This can help increase the perceived value of the product in your customerÔÇÖs mind, and just might get this piece out the door.

What are your favorite ways to move old stock?

how to move old inventory
Image courtesy of phanlop88 / FreeDigitalPhotos.net

Spring Displays & Packaging

Spring is on the way! We donÔÇÖt know about you, but weÔÇÖre counting down the days until the weather warms up and we can see the ground again. In preparation for springtime days, we are are thinking about spring displays and spring colors.

Pantone’s Fashion Color Report Spring 2014 is a great place to begin. This will help you to see what colors are going to be trending this season, and you can choose what will match your jewelry and style the best. It will also help you highlight your pieces that might be similar to these colors or provide you with design inspiration.

When choosing a color scheme for your displays, don’t go overboard and use ALL the colors. You want your jewelry to be the focus and your displays and props should serve only to bring attention to your jewelry. And when you’re choosing your spring packaging line, remember that packaging is branding. You want to create a look that customers will associate with your store even after they’ve gone home.

Parade blue (very similar to the Dazzling Blue Pantone is featuring this spring) tissue paper paired with turquoise makes a memorable packaging look.

We know how many of our customers travel to shows, and one of favorite products for spring is this brand new carrying case! This black aluminum case has a front opening door with a pocket on the inside of the door, a hidden retractable handle, combination locks, and an adjustable divider. Holds up to (12) 1″ trays.

spring displays

For more color inspiration for this spring, check out our Pinterest Bring in Spring board.

Creating A Necklace Display

linen jewelry display

linen jewelry display

Crafting your necklace display is an important part of selling your jewelry. The presentation of your jewelry is what will draw potential customers in for a closer look (and then they’ll fall in love with your necklaces!). There are a few things that you can do to display your necklaces in an optimal way.

1. Remember height levels. There should be a tall, taller, tallest element to your display so that your customers’ eyes are able to naturally “read” the display. Believe it or not, it’s harder for people to focus on products when they are in a straight line with no height differentiation.

2. Color scheme and props. Your display is the story of your jewelry. When you’re crafting this story, you don’t want to use elements that don’t fit the theme of this story. Use props and a color scheme that will compliment ┬áyour jewelry and that will be coherent with your entire display.

3. Pick a display that is the best fit for your jewelry. We wrote a post about this last time, but to recap briefly, you want to choose the right display for your jewelry’s style. Necklace busts and necklace easels are both great options, as well as wire displays, but each type of display has pro and cons. Be sure to research which type will be best for your jewelry.

Finally, just have fun! Creating a display shouldn’t be stressful or overwhelming. Relax, and enjoy the process.


Necklace Displays: A bust or an easel?

WhatÔÇÖs the difference between a bust and an easel? Is one necklace display better than the other? Which one will work best for YOUR products? There are quite a few questions to ask when putting together a presentation for your necklaces! We think it’s time you had some answers–at least about the difference between these two great necklace display styles.

HereÔÇÖs the deal:

Necklace busts work best for heavier jewelry or thicker necklaces or for displaying that isn’t going to be moved around a lot (such as a jewelry table in a store). Since the busts tend to weigh more than the easels, theyÔÇÖre often used for display tables in stores, or more elaborate and involved displays at art and craft shows (shows that last for several days). Unlike easels, busts are freestanding and do not pack flat. Although they are bulkier, they can hold heavier jewelry and have a very elegant, classic display look.

necklace display
Necklace bust.

Necklace easels are more lightweight, and work well for traveling to shows. TheyÔÇÖre also a great way to display chains with pendants, but might not be the best option for heavy necklaces. Easels will also work on a display table, as they are easy to arrange and don’t really take up much room. As the name implies, necklace easels have an easel back, which usually lies flat against the display when not standing up. The easel back is pulled away from the display and secured by another piece of the display that fits into the easel portion to keep the display upright.

necklace easel
Side view of a necklace easel.

So there you have it! ┬áBusts and easels are great ways to display necklaces, but the right one for you depends on your jewelry style, as well as where and how you’ll be displaying.

Day Twelve: Aluminum Jewelry Tray + FREE Liner!

12 Days of Deals–Day Twelve

Buy an Aluminum Jewelry Tray and get a FREE Liner!

The details: This elegant aluminum tray comes with a free gemstone liner today! Buy one AL831K at regular cost and receive an 83-2M(WH) for free! (That’s a value of $5.15 for free!) The aluminum tray liner comes with a glass lid and a clasp for secure viewing and displaying. Free liner is white foam with 36 acrylic gem jars. Ideal for display gems, beads, charms, and lockets.


Aluminum Tray (liner pictured not included):

aluminum jewelry tray


FREE 83-2M(WH):

gemstone liner


(Cover image  courtesy of samarttiw at FreeDigitalPhotos.net)


Day Two: Poly Hand Display

12 Days of Deals Day Two!

Poly Hand Display

The details: this black poly hand display is regularly $7.40, and today you can have it for only $4.39! It measures 4″ wide and 8″ tall, making it an ideal choice for a bracelet or necklace display. Poly hands are a popular way to display jewelry in a unique and creative way. You’ll often see them as part of a window display, or as a fun focal point on a jewelry display table.

Shop this poly hand display here. 

poly hand display

All About Jewelry Tray Liners

jewelry tray liners

Need some jewelry tray liners for those trays? We thought so.

It can be challenging to know which liners you need for your trays (especially when there are so many options). To make it simple, weÔÇÖre broken it down into four main categories of tray liners: Compartments, Gemstones, Liners and Pads, and Rings.

Compartment Liners– These liners come with anywhere from six to fifty vertical or horizontal compartments and can be used for a wide variety of products such as bracelets, necklace, beads, stones, and much more. The compartment liners are useful for both display and organization.

Pro tip: Some of the compartment liners work especially well for specific display products; for example, the ten compartment tray liner (96-T1) fits the Glass Top Gemstone box (GB-0001) perfectly! Also, the 28 compartment liners are perfect for earring displays (item number BX565 fits right in there!).

Compartment Liners
Compartment Liners

Gemstone liners— the acrylic gem jar liners are ideal for gems, beads, charms, lockets, and much more! The gemstone liners are all the same dimensions, but have different sizes of jars depending on how many jars are in the liner. These liners range from 24-50 jars per liner for the full sized liners and 12 or 25 jars for the half-sized liners. The acrylic jars all have a foam insert, a pop on/off lid, and are set in a foam pad that comes in either white or black. Once placed in a jewelry tray, this makes for a fantastic display!

Gemstone liners
Gemstone Liners also work for beads, charms, lockets, and more!

Liners & Pads— excellent for an elegant and classic display. Velvet display liners are ideal for displaying, and a simple way to go from traveling to displaying without a extra hassle. Simply place your jewelry on the display pad or velvet liner in an attractive manner for an eye-catching display.

jewelry tray liners
Velvet Liners and Display Pads

Rings– Ring liners are available in two types. Foam pads with ring inserts, or as tufted tray liners. These come in full size or half size liners, and have a few different color options.

Ring liners
Pro tip: You can also use the ring liners to place on top of your jewelry in a tray to keep it from moving around during travel in a carrying cases.

Remember: liners go inside trays to make a complete display. Full size liners will fit in full size trays, and half-sized liners will fit into half-sized trays.