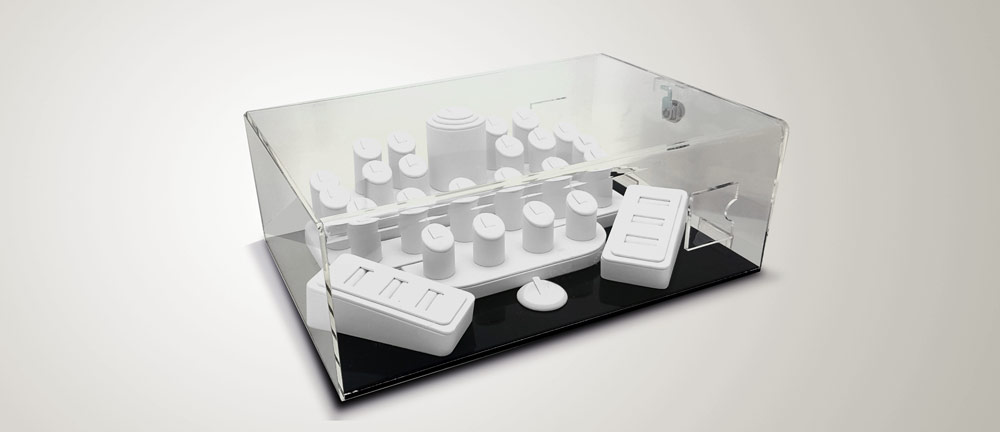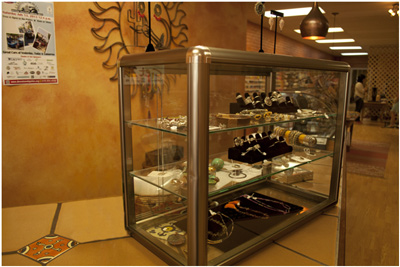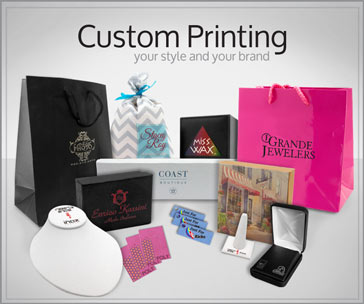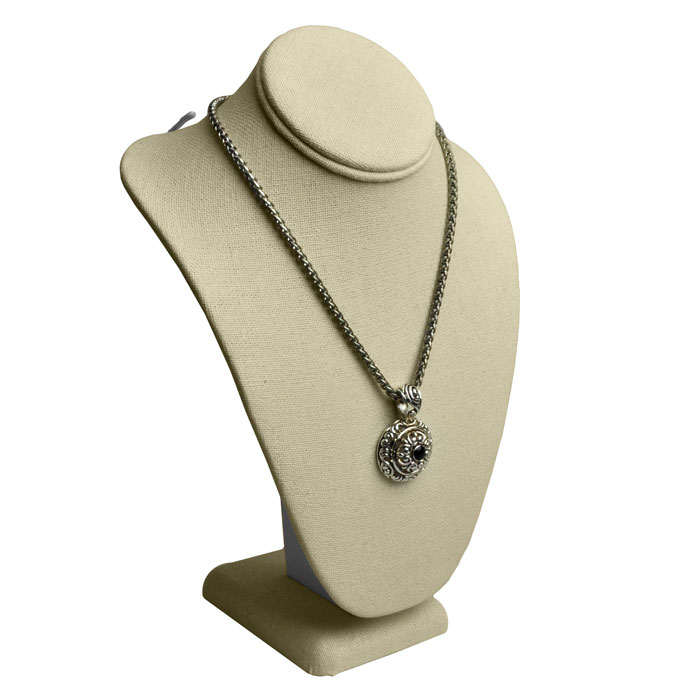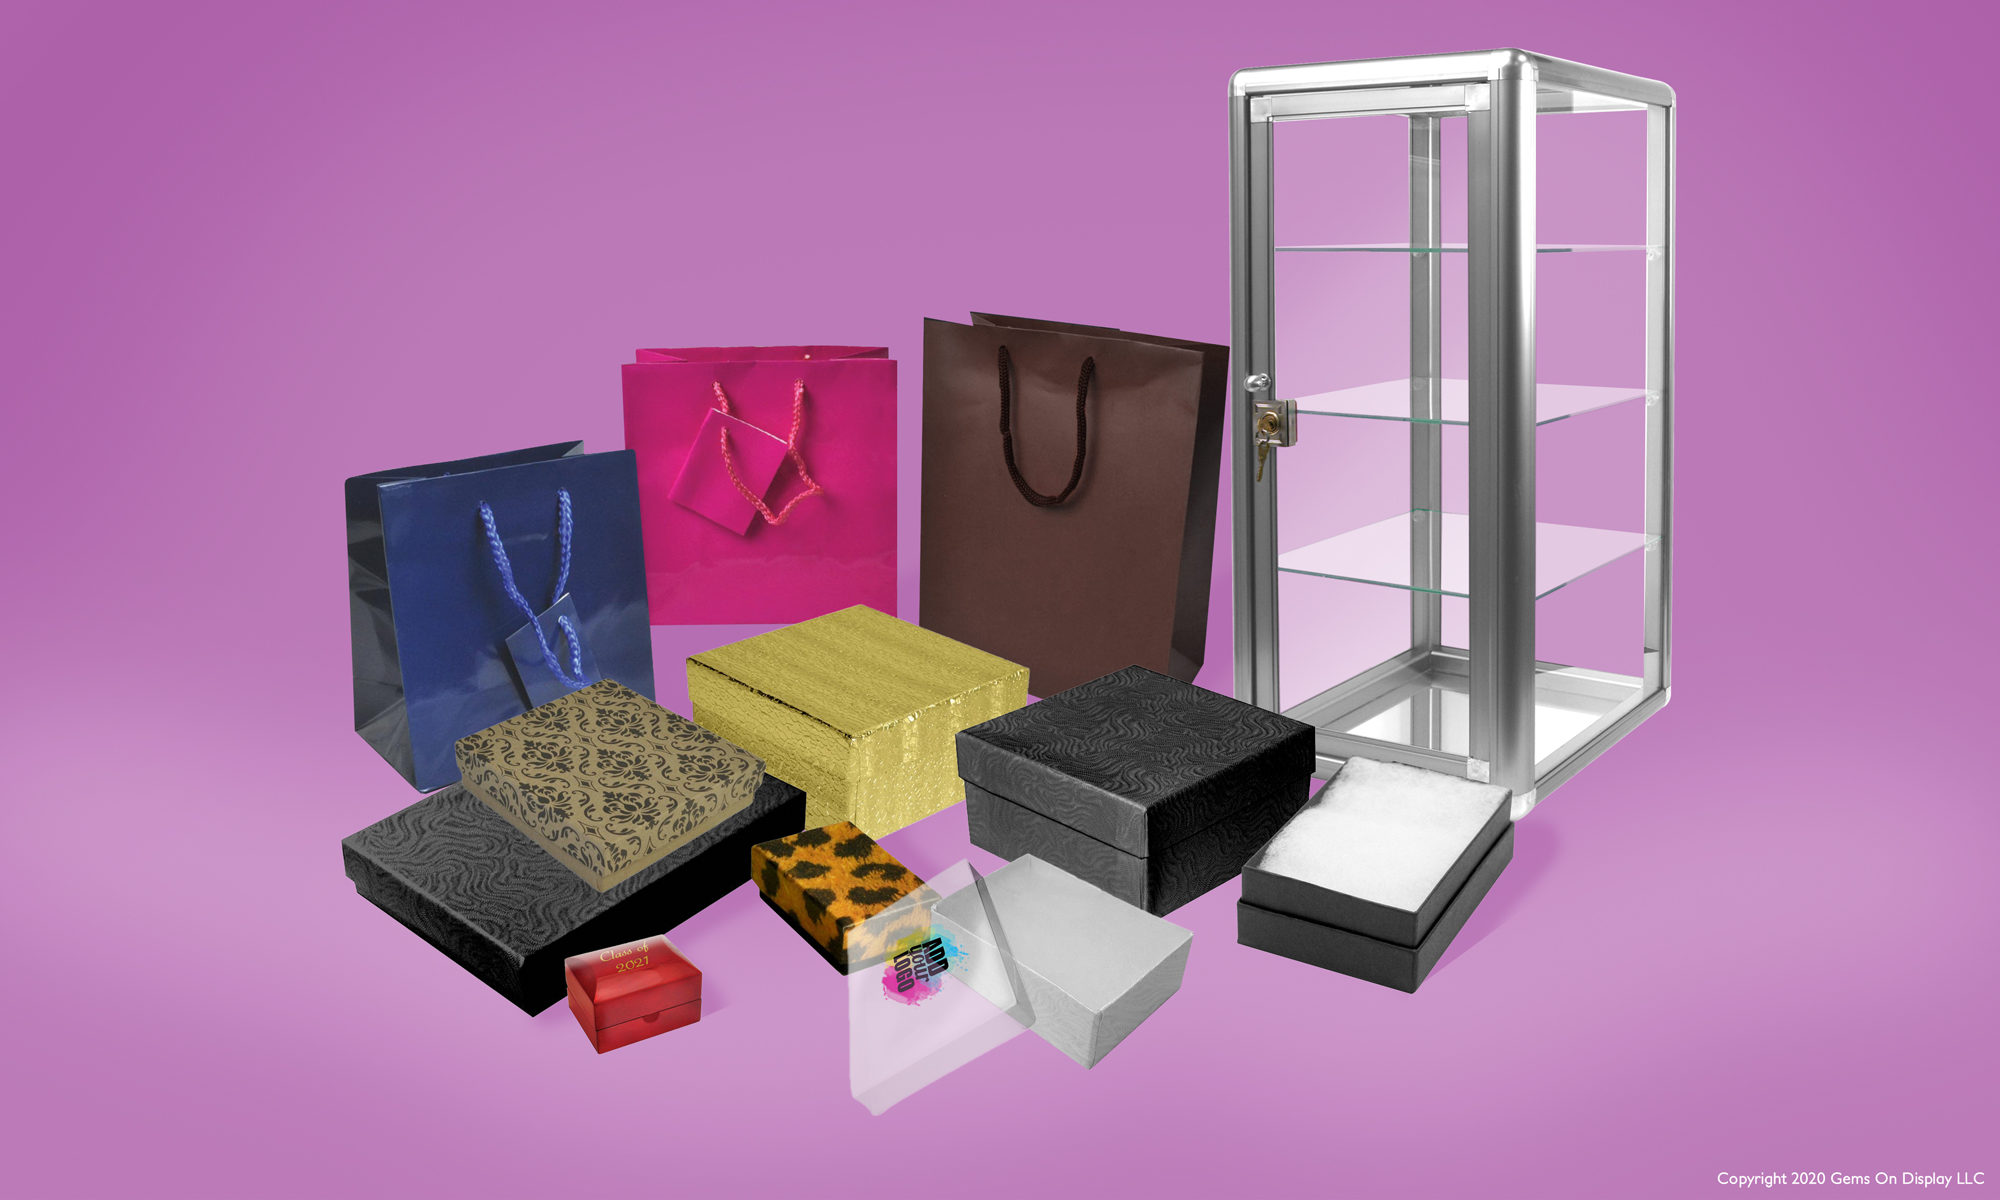
Advertisement is a wonderful avenue to expanding your customer base, distinguishing yourself from the competition, and showing the customer what your company is all about. However, arranging memorable branding opportunities can be difficult and expensive. Fortunately, making your company name known doesnÔÇÖt have to be a major investment. At Gems on Display, we pride ourselves on our wide array of custom printed packaging for businesses of any size. From branded bags to boxes to displays, our goal is to provide the perfect product to suit your needs. Many of our selections are available in quantities as low as one piece per order. Custom printed products start at $16 per 100. All it takes is $16 to make a plain box into a memorable branding opportunity.

How to Start
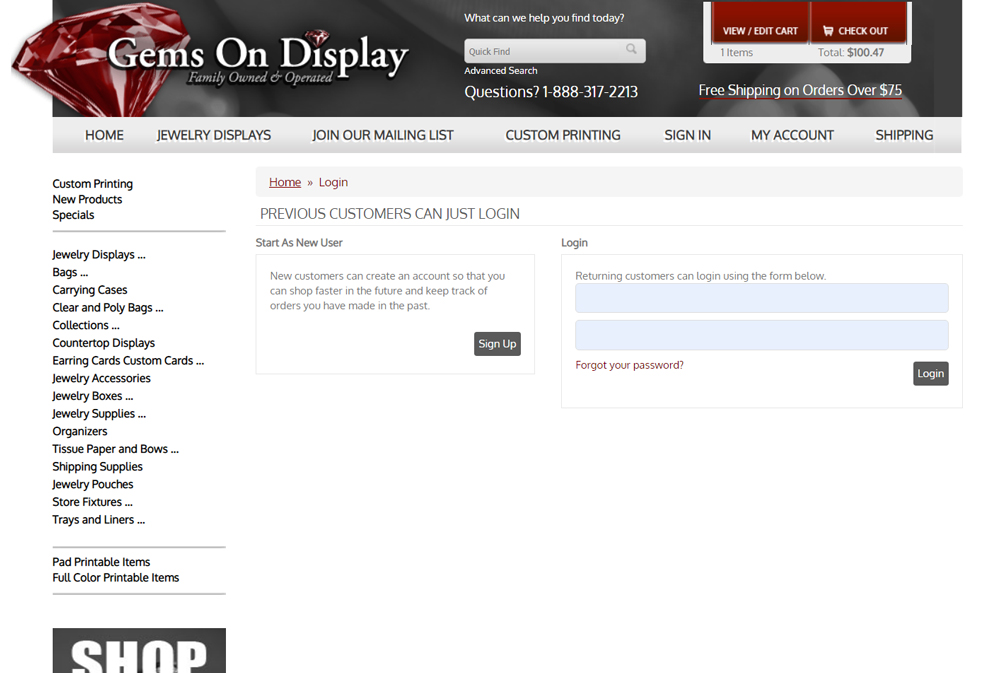
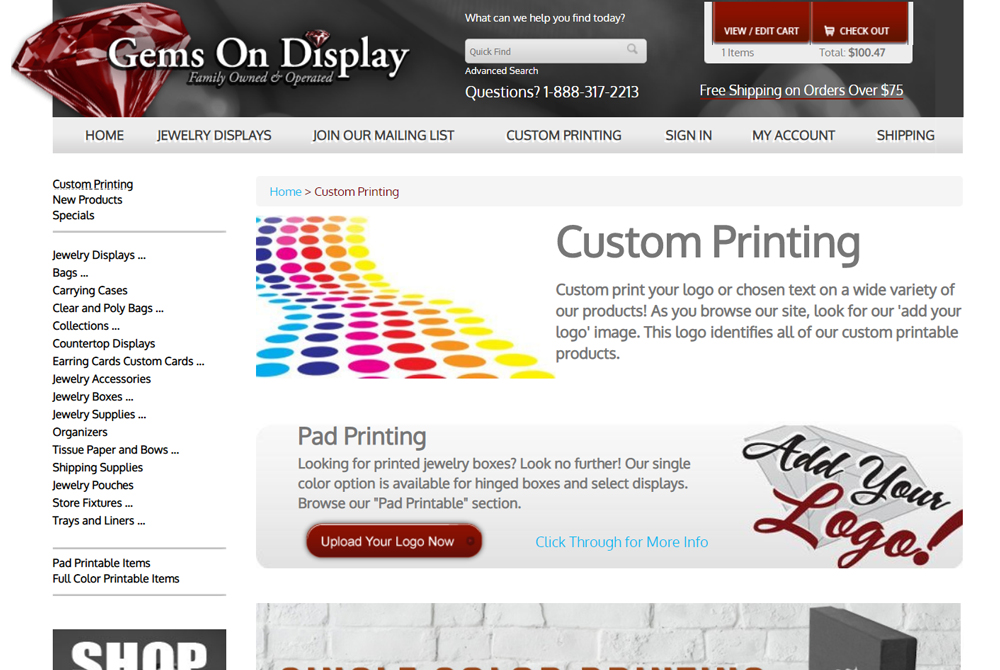
https://www.gemsondisplay.com/ShopCustAdminLogin.asp
To start your custom order, simply log into your account. If you donÔÇÖt have one, creating a new one is easy. Go to our sign in page, then under ÔÇ£Start as New UserÔÇØ, click ÔÇ£Sign UpÔÇØ, and fill out the needed information. Afterward, navigate to our custom printing page, upload your logo, then browse our fine selection of custom printing options. Our process is simple and user-friendly. If you lose your place, or need assistance, please contact us. We are available from 9 to 5 EST, and weÔÇÖre here to help!
How To Proceed After Placing The Order
Our talented and experienced designers are ready to craft the card of your dreams. Unlike many competitors, our design service is included with your order, along with color changes and scaling!
Where Do I Start?
Ready to place an order? Click here, then follow the easy prompts to make your company name known today!