
There is something uniquely satisfying about putting pen to paper. Today, everything has been digitized to the point where interacting with a physical media offers a unique delight to the senses. Therefore, what better way to enhance that experience than by using a pen that you’ve crafted yourself or perhaps purchased from a local artisan? Handmade pens not only serve as functional writing tools but also offer a personal touch and an expression of creativity. So whether you are giving a gift OR just making something small for yourself, pen turning (or lathe turning) is a great hobby to get into. But, where to start? How to get into this at all? Well, let’s look at the practice step-by-step. Or you could check out the following video to assist with your lathing journey.
Materials Needed: Before we dive into the process, let’s gather the materials required for making a pen:
- Pen Kit: This typically includes the pen components, such as the pen body, refill, clip, and end cap. These can be found at your local hobby store.
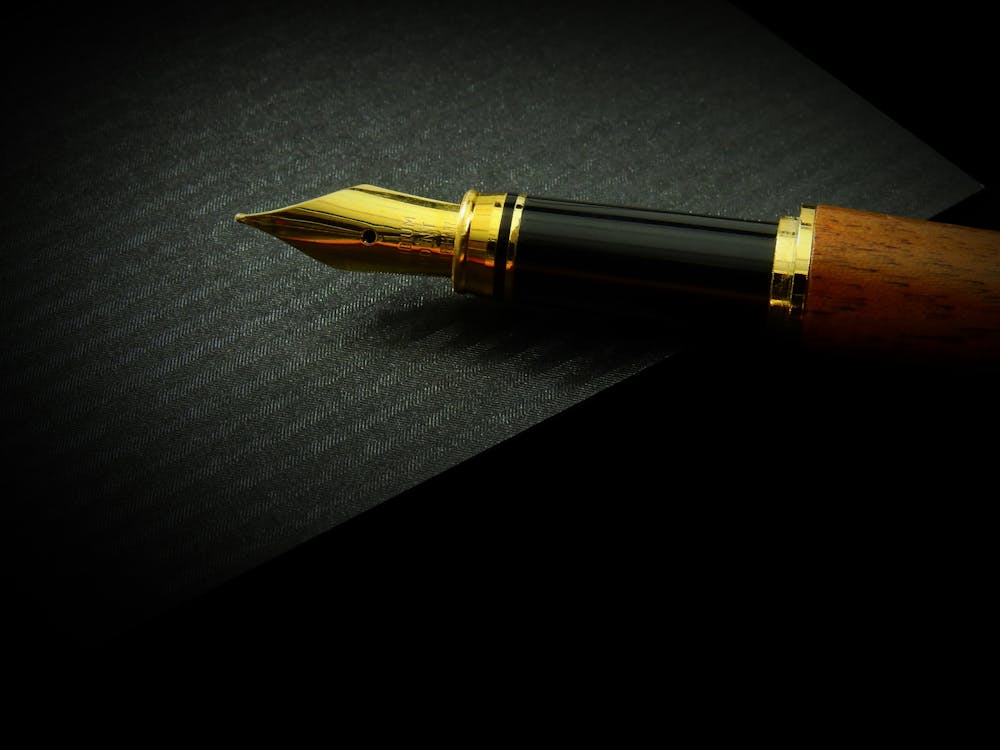
- Pen Blank: Let’s dive a little into the term “Blank”. A blank is a block of material (wood, acrylic, epoxy resin, or metal) that will for the main body of the pen. So, select a material that reflects your likes.
- Lathe: A machine used to shape and turn the pen blank. This practice is also called “Turning”. This machine is VERY versatile in it’s use, but commonly used for pens, bowls, and candle stick holders (amongst other things)
- Sandpaper and Finishing Materials: Various grits of sandpaper for smoothing and polishing the pen, along with a suitable finish, such as wax or varnish. Here’s where a bit of creativity in your medium can flow. You can choose different finishing that produce different effects. I would recommend Googling and planning out your desired end result.
- Adhesive: Usually, cyanoacrylate glue (also known as CA glue) is used for securing the pen components. This is VITAL to your project. Don’t skimp and don’t rush the gluing process.
Step-by-Step:
- Prepare the Pen Blank: Select the desired material for your pen blank and cut it to the appropriate length. Ensure that it is slightly longer than the pen kit to allow for trimming. Many of these pen kits recommend certain sizes to start with, so make sure you read the instructions provided by your pen kit.
- Drill the Blank: Mark the center of the pen blank and use a drill press to create a hole that matches the diameter of the pen kit’s tube. Be cautious and wear appropriate safety gear during this step. Go slowly, take your time measuring your materials. Remember, measure twice, cut once.
- Mount the Blank on the Lathe: Secure the drilled blank onto the lathe using a pen mandrel. Make sure it is aligned properly to prevent wobbling during turning.
- Shape the Pen: Switch on the lathe and use appropriate turning tools to shape the blank. This will depend on the type of shape you would like your pen to take. Many different textures and shapes can be achieved in this portion of the project. So plan ahead. A sketch of the desired shape wouldn’t hurt. Begin by roughing out the basic design and gradually refine it to your desired shape. Take your time and pay attention to detail, ensuring a smooth and symmetrical finish.
- Sanding and Finishing: Start with coarse-grit sandpaper and progress to finer grits, gradually smoothing the pen’s surface. Use a sanding block or lathe-mounted sandpaper for even results. Once satisfied with the smoothness, apply a suitable finish to enhance the pen’s appearance and protect the material.
- Assemble the Pen: Following the pen kit’s instructions, carefully insert the pen components into the blank. This typically involves attaching the refill, clip, and end cap using the provided mechanisms. Use CA glue sparingly and avoid getting it on the visible surfaces of the pen.
- Final Touches: Check the pen for any rough edges or imperfections. If necessary, use sandpaper or a file to make small adjustments. Clean the pen to remove any dust or debris.
- One extra step you could explore is the use of a lovely pen box. This will provide protection, and a finishing touch to your project. We recommend our Gems On Display exclusive pen boxes. Please see the pen box below.
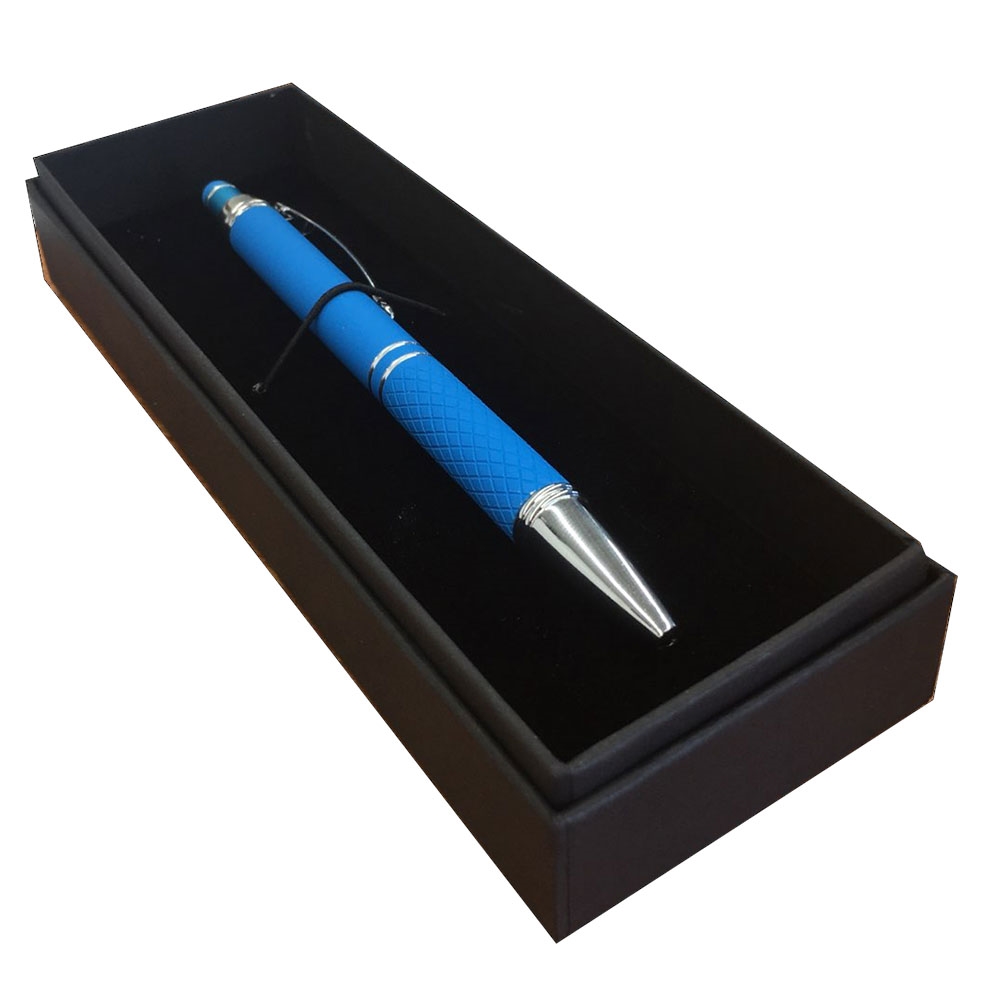
Matte Black Single Pen Boxes, Holds 1 Pen – SKU#: 80B-1
Crafting your own pen is an immensely rewarding experience that allows you to create a functional work of art. Whether you choose to work with wood, acrylic, or other materials, each pen becomes a unique expression of your creativity. With practice and patience, you can refine your pen-making skills and even experiment with different designs and techniques. So, why not embark on this journey and discover the joy of making pens by hand? Let your creativity flow and enjoy the elegant simplicity of writing with a pen that you’ve crafted with your own hands.