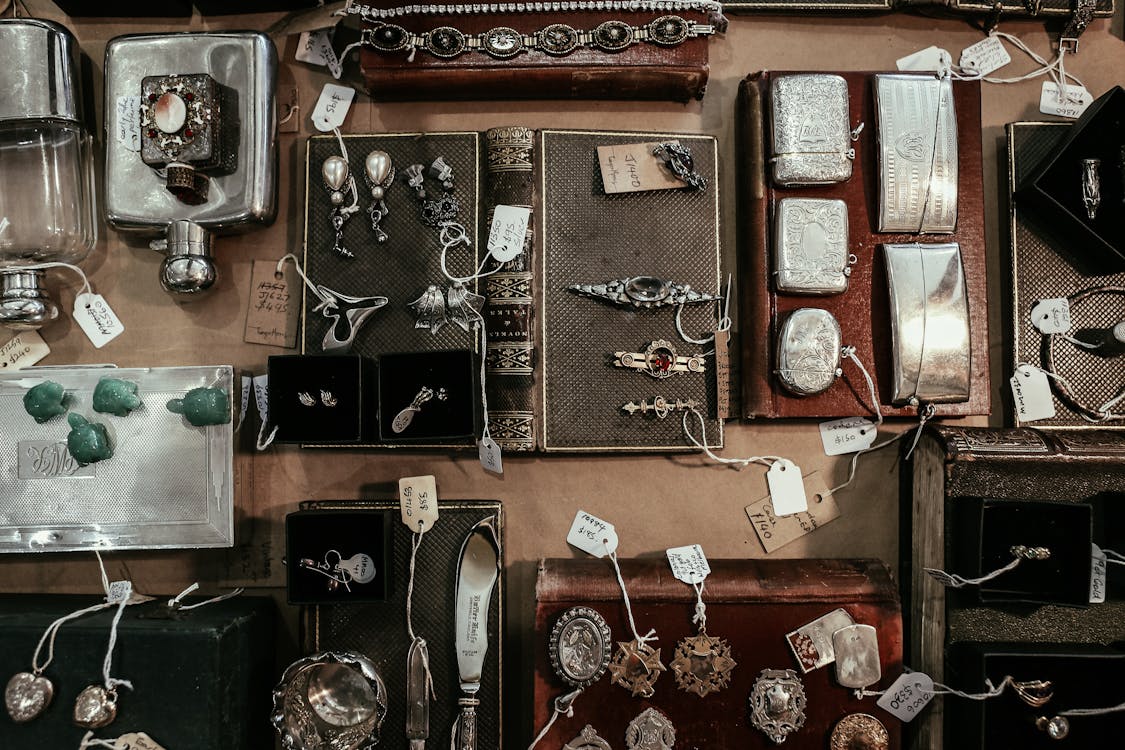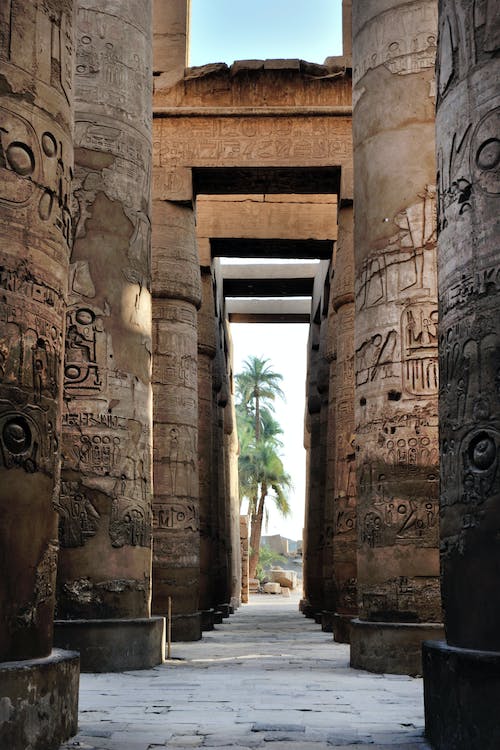
The history of rings traces its roots back throughout the ages. From the tombs of Ur to Egyptian temples, rings have often been a symbol of status and authority. In this article, we are going to look at a couple of styles of rings and how their intricate designs and craftsmanship influence modern designs today.
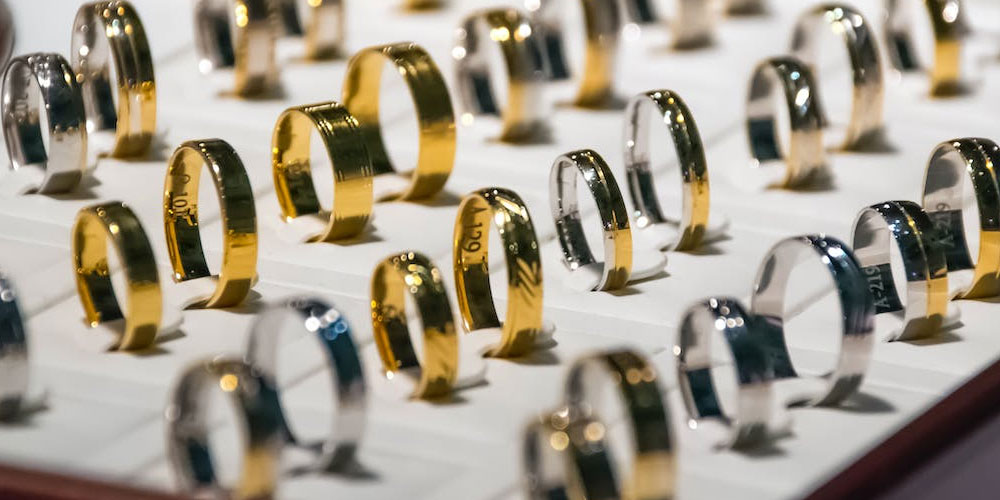
The Simple Wedding Band – A Display of Never-Ending Love
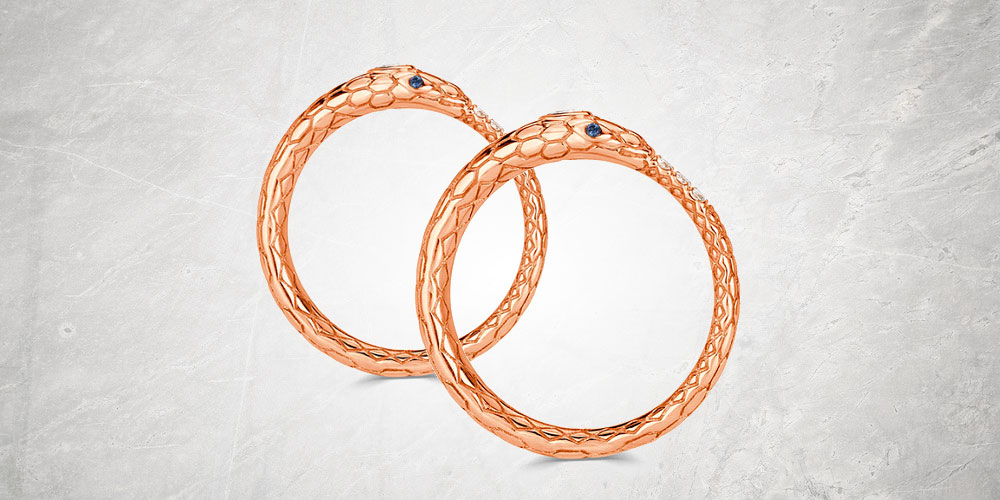
A simple wedding band can be traced back to many source cultures; however one stands out in particular when discussing rings: Egyptian Roots. There are many examples of rings representing the concept of immortality in Egyptian Jewelry. One of these examples is the Ouroboros. This was a symbol of the cycle of life, and these bands were often gifted to lovers in Egypt. Greeks adopted this practice, thus evolving into the wedding band we see today. Much like the Ouroboros, a wedding band represents a never-ending cycle of love and commitment to a union.
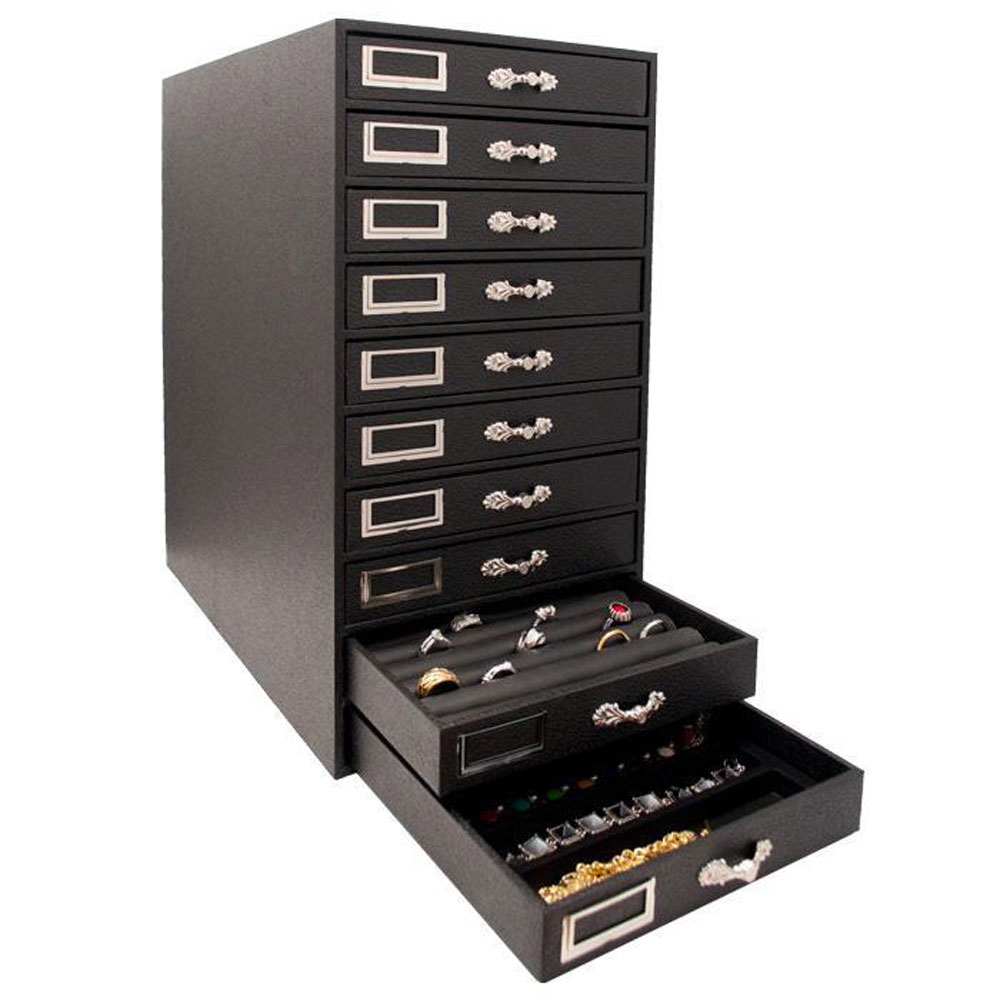
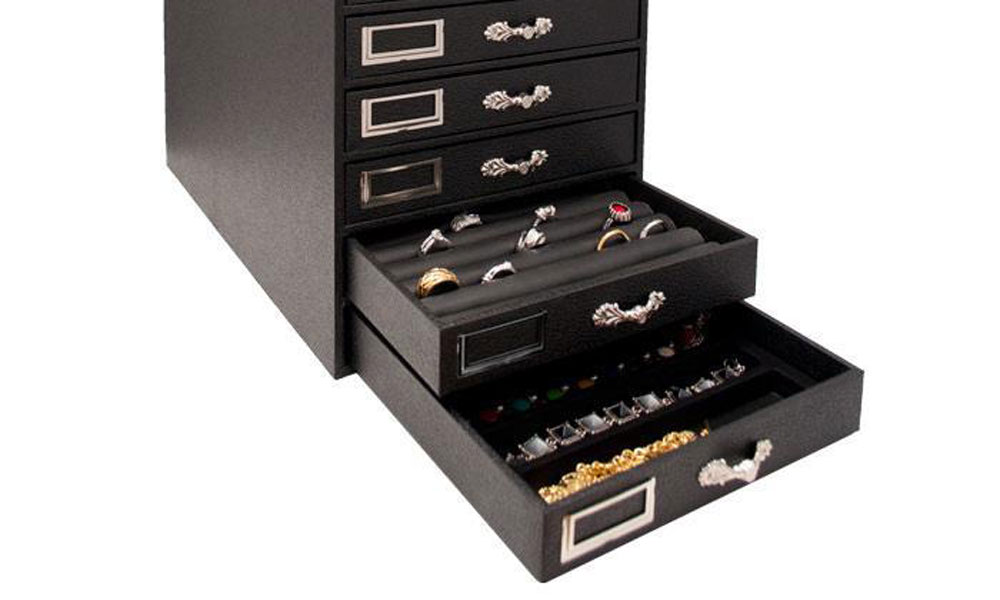
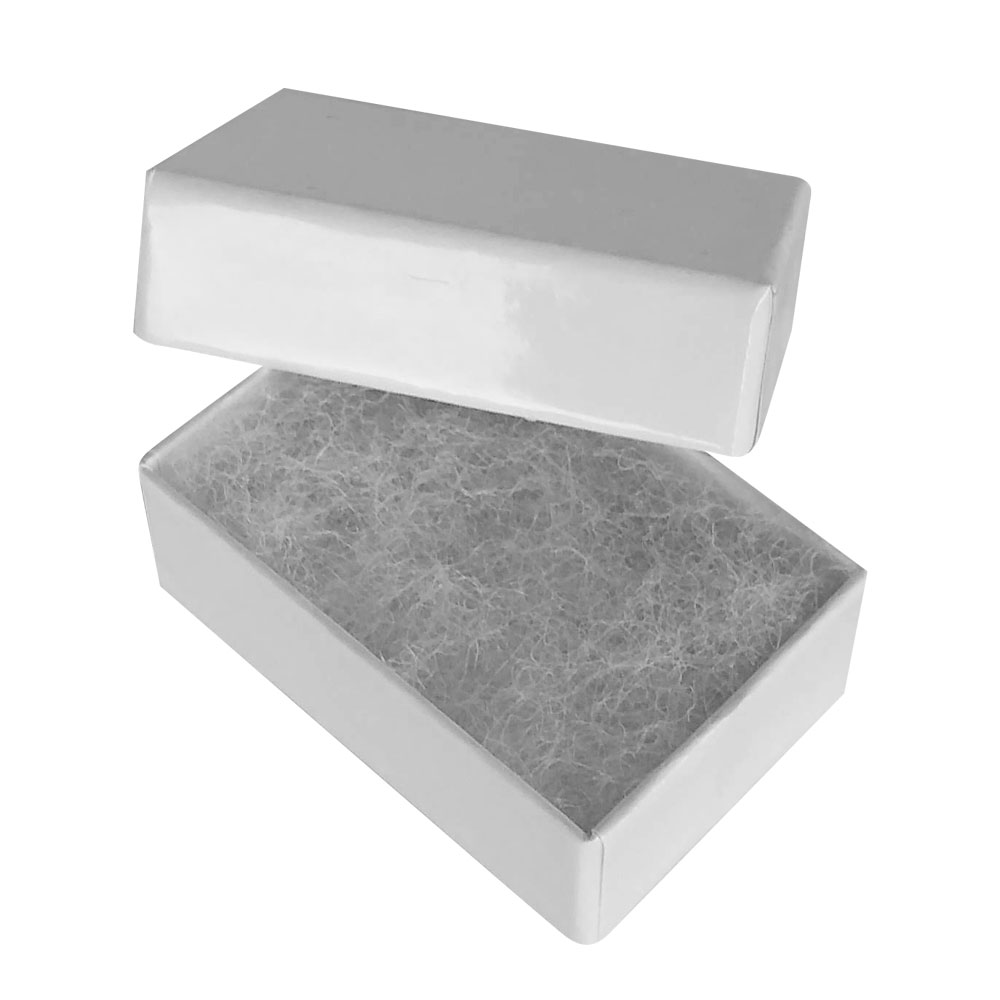
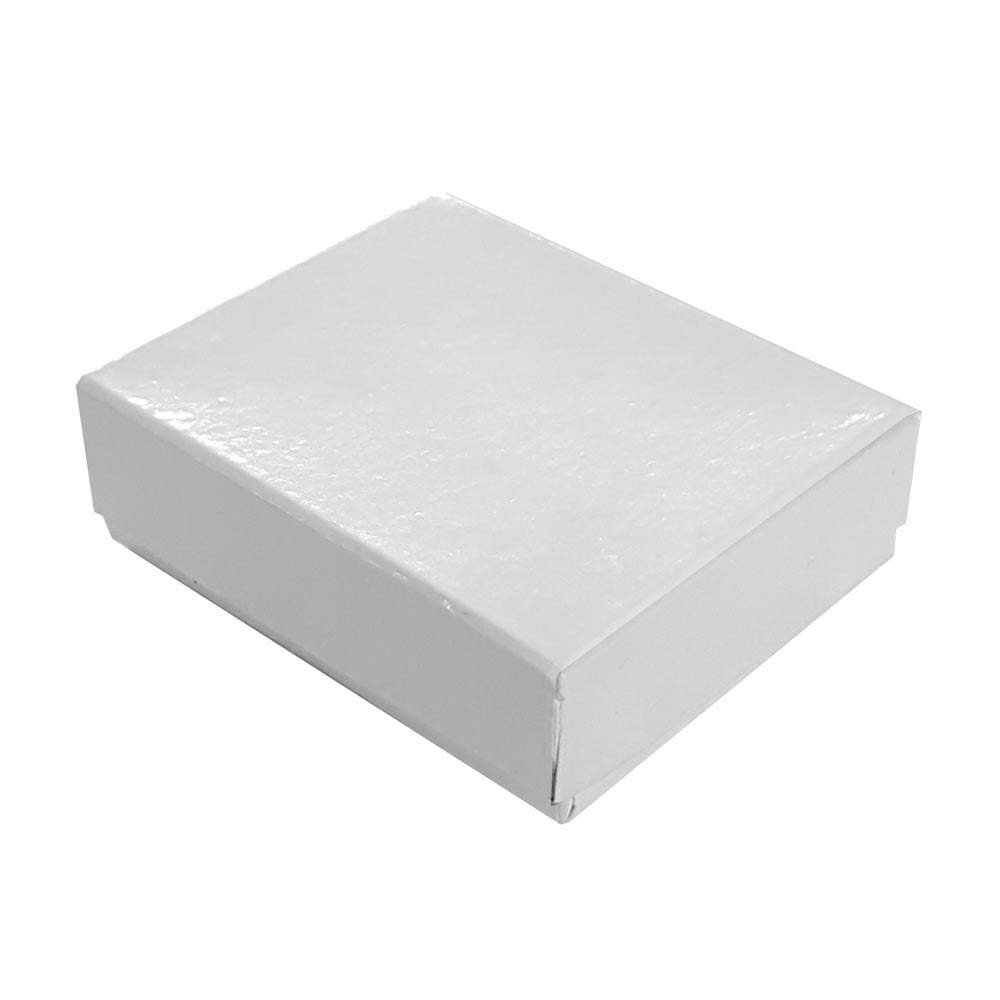
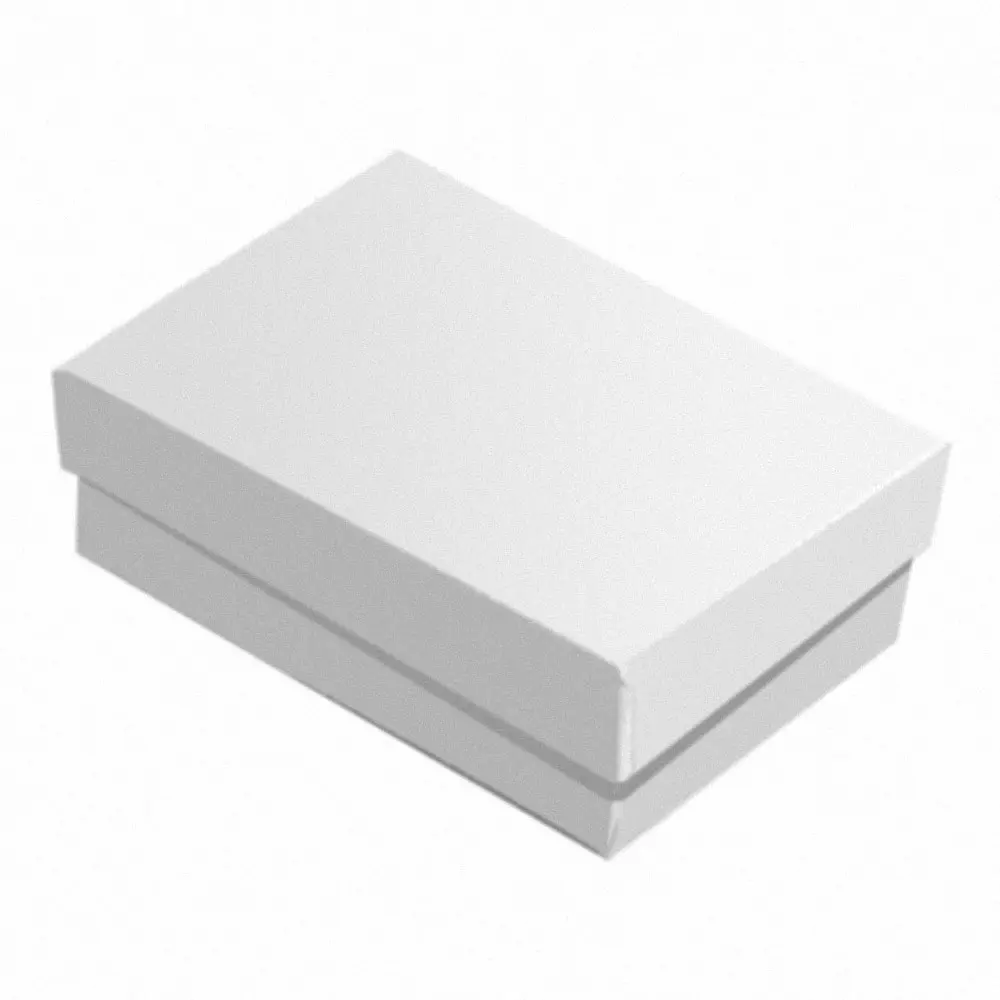
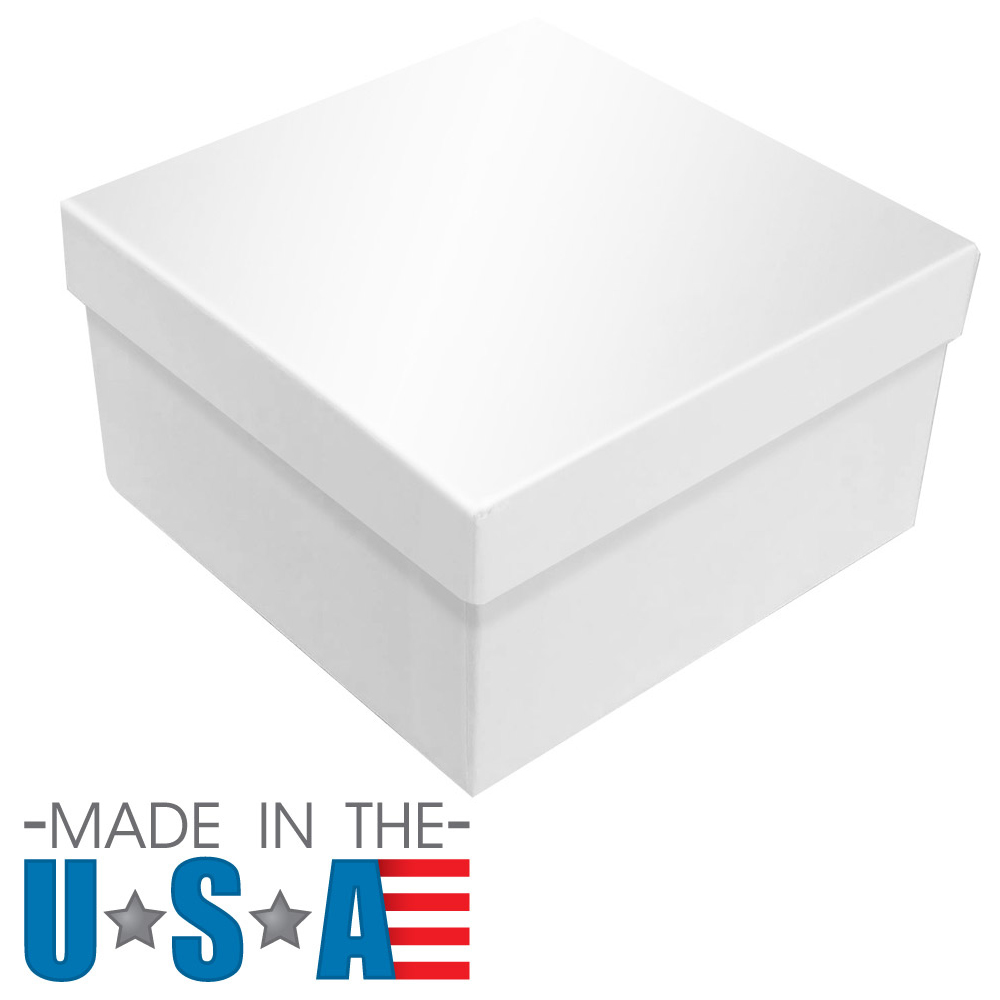
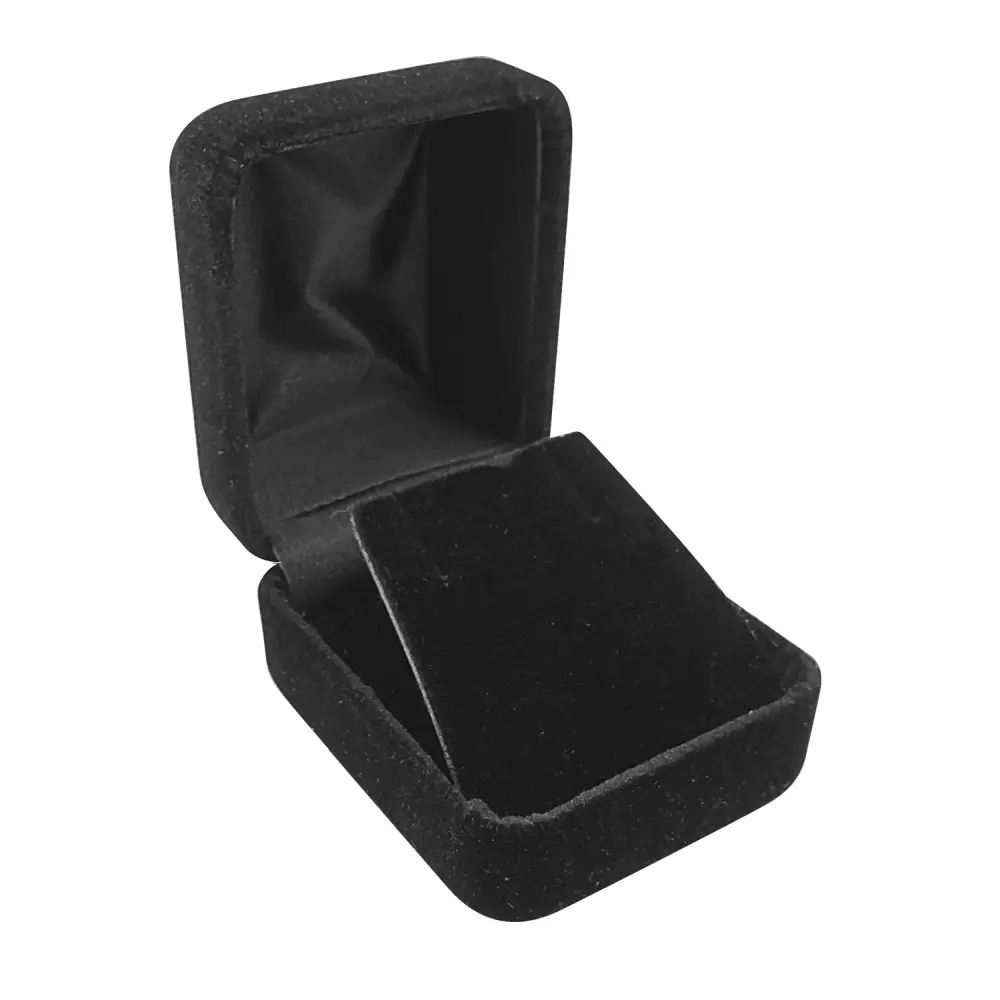
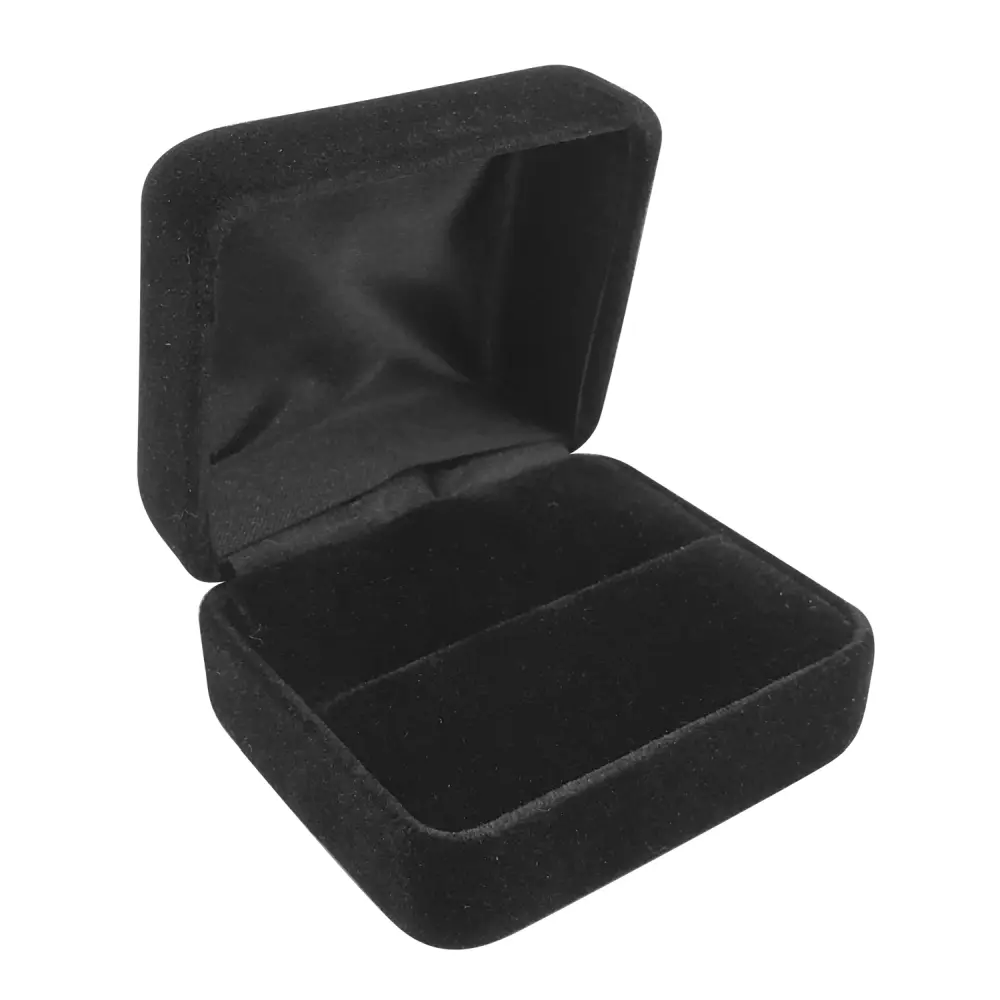
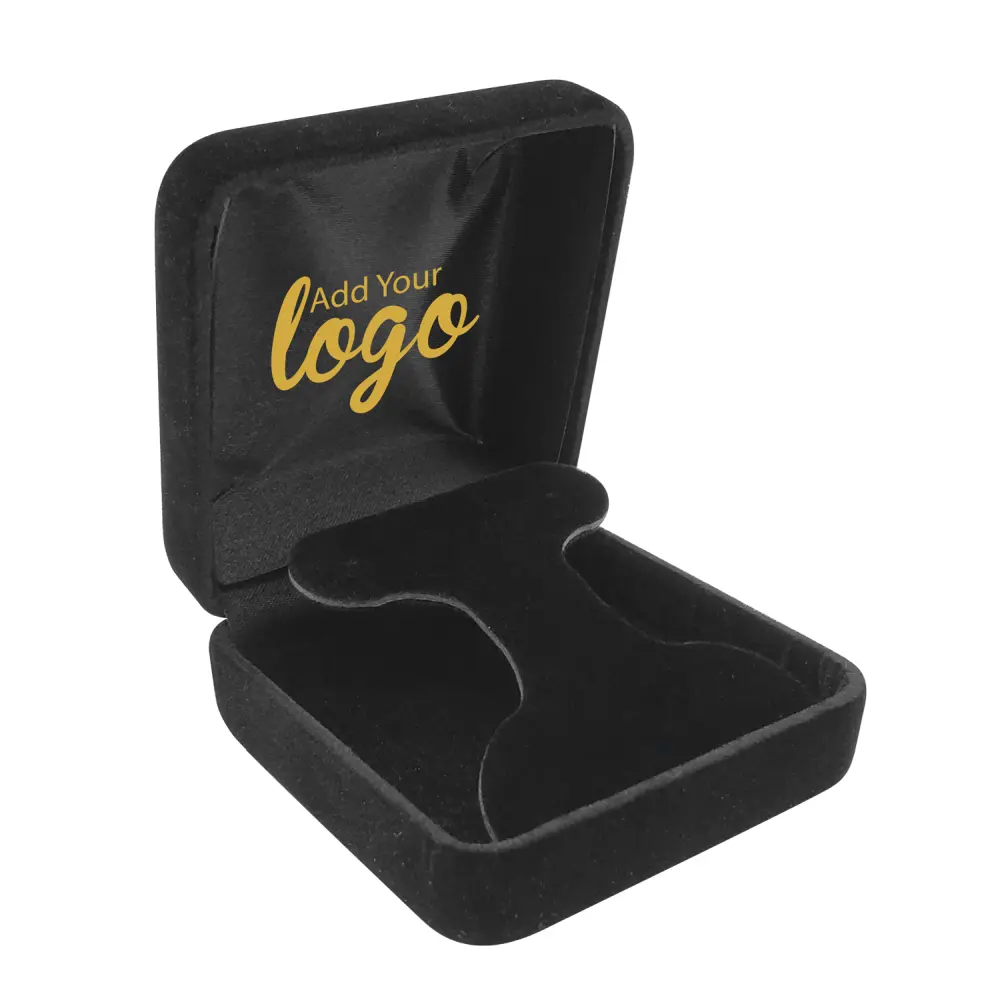
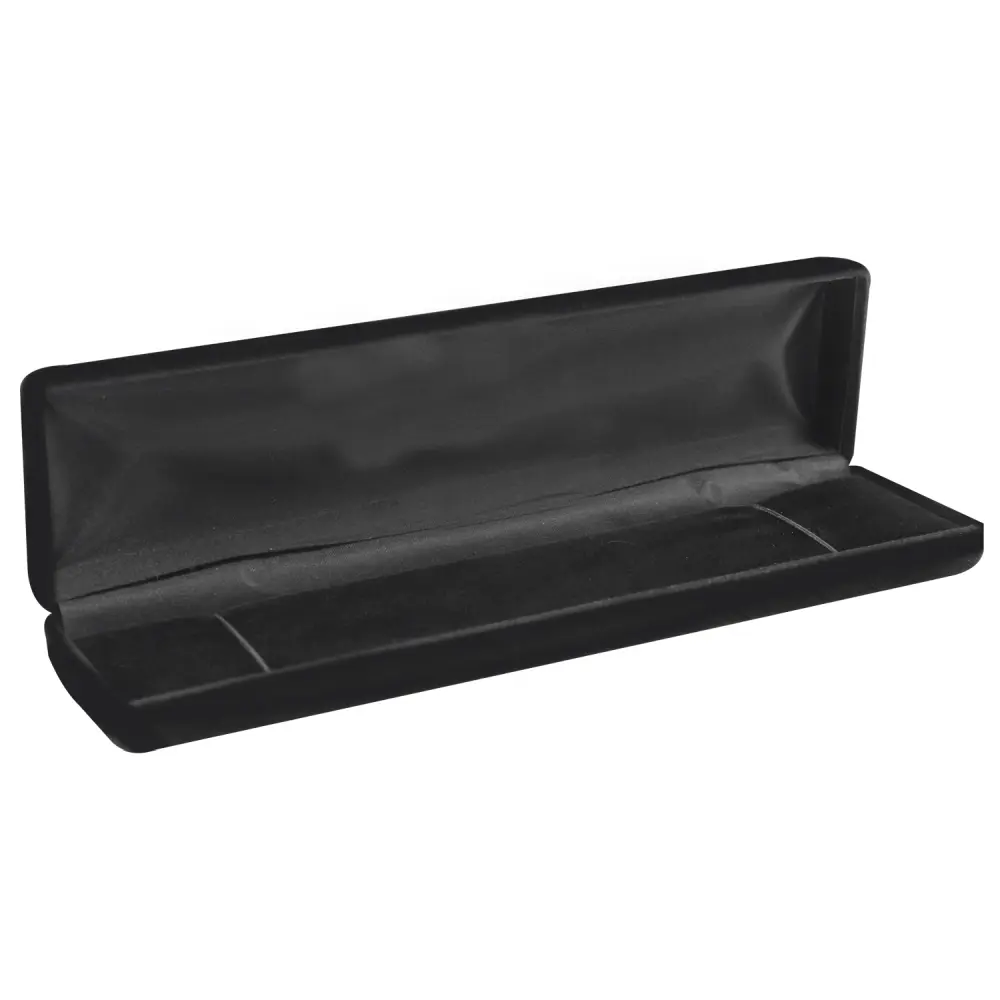
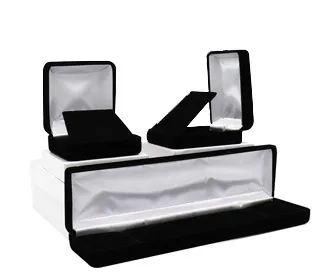
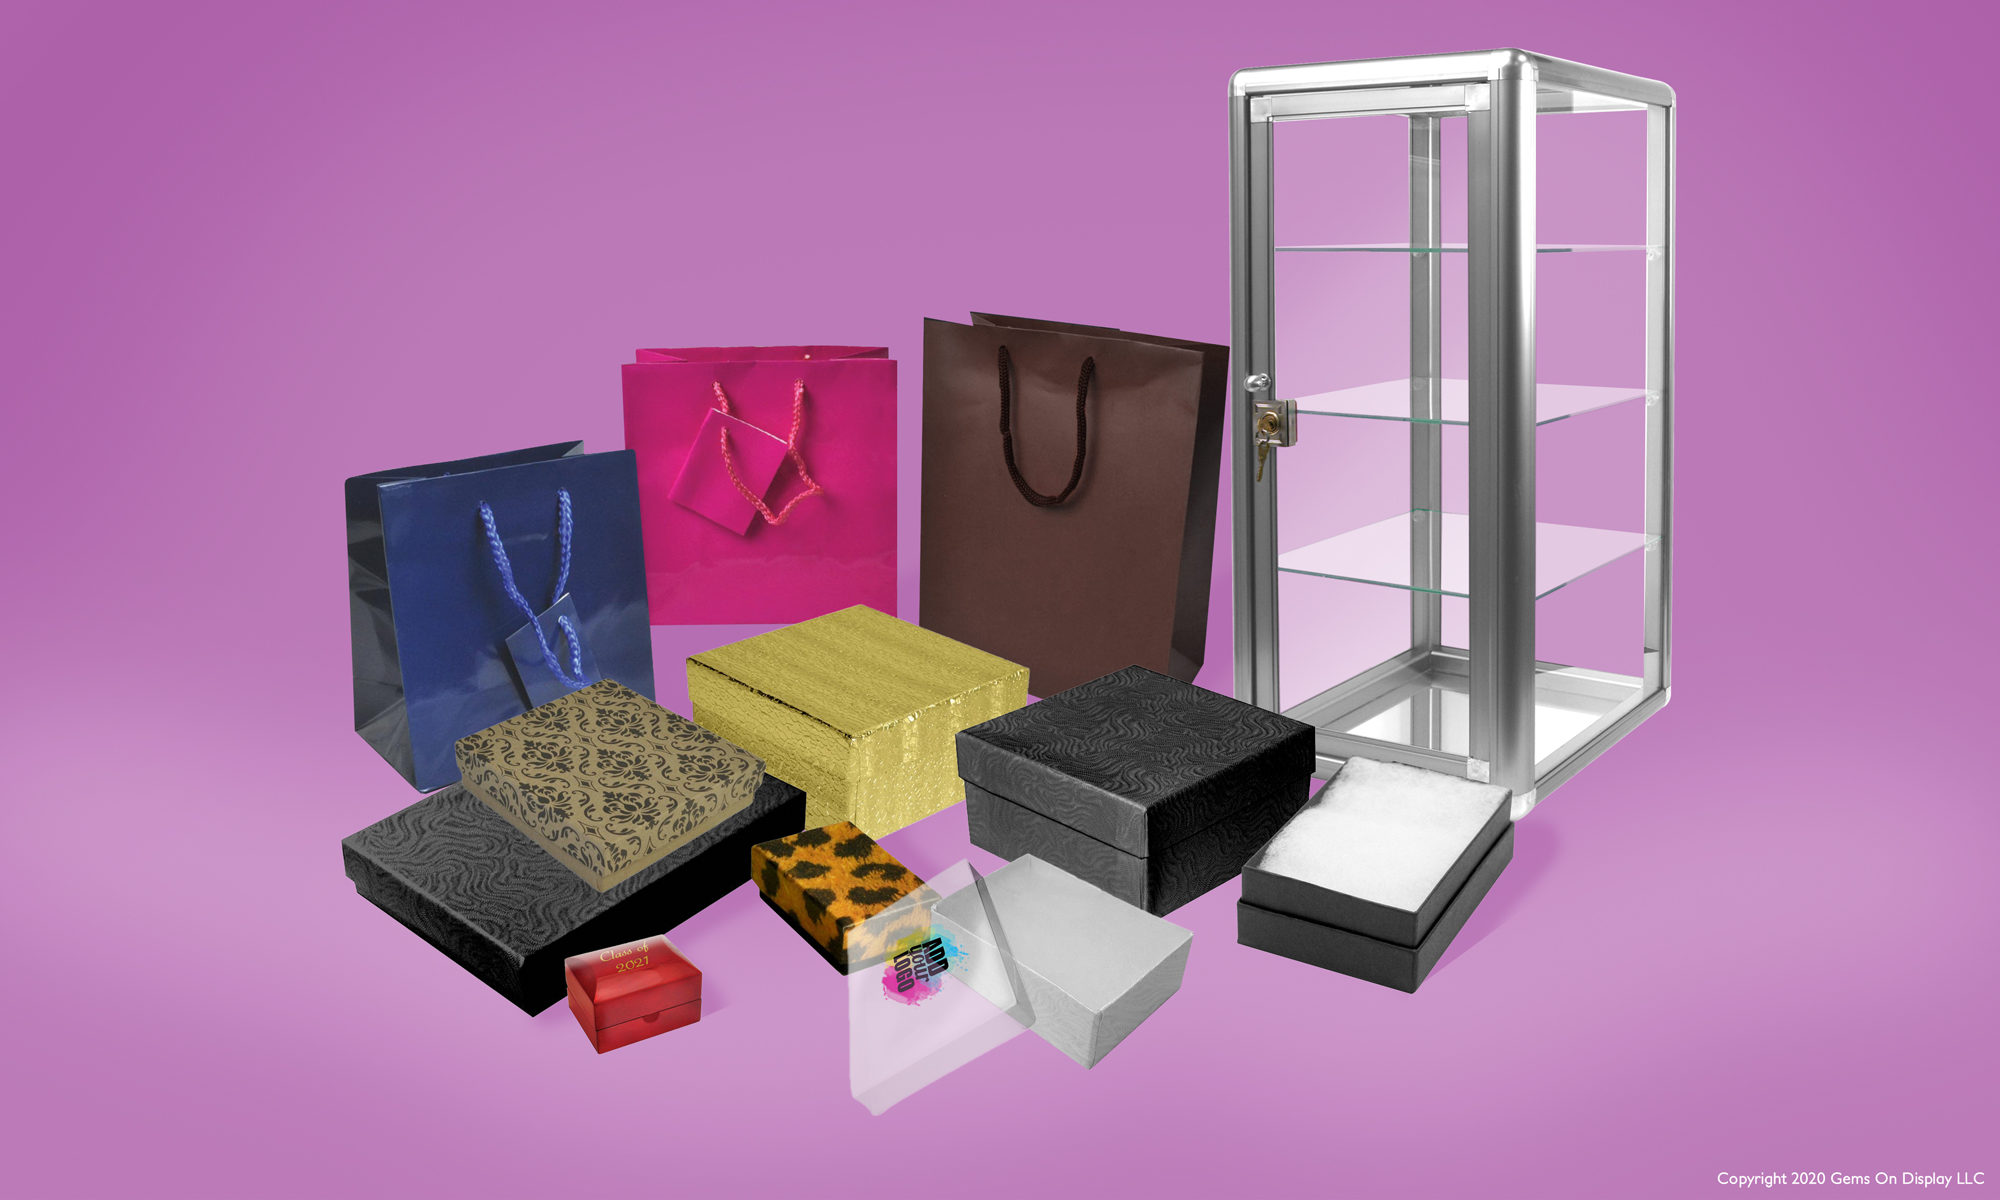
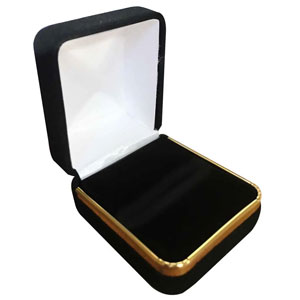
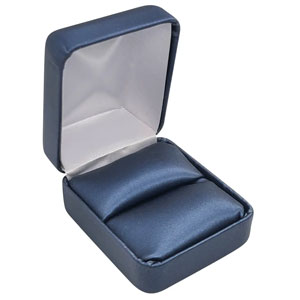
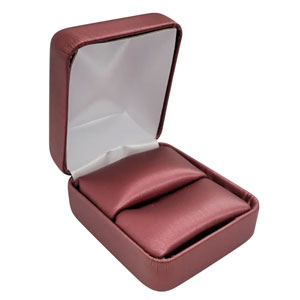
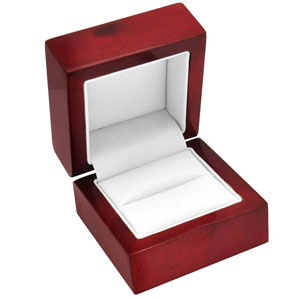
When gifting, giving, and shipping bands like these, it’s important to consider a safe mode of transport. Below are 3 jewelry box options that would be a great compliment to a wedding band.
A Statement Stone – A Symbol of Authority and Protection
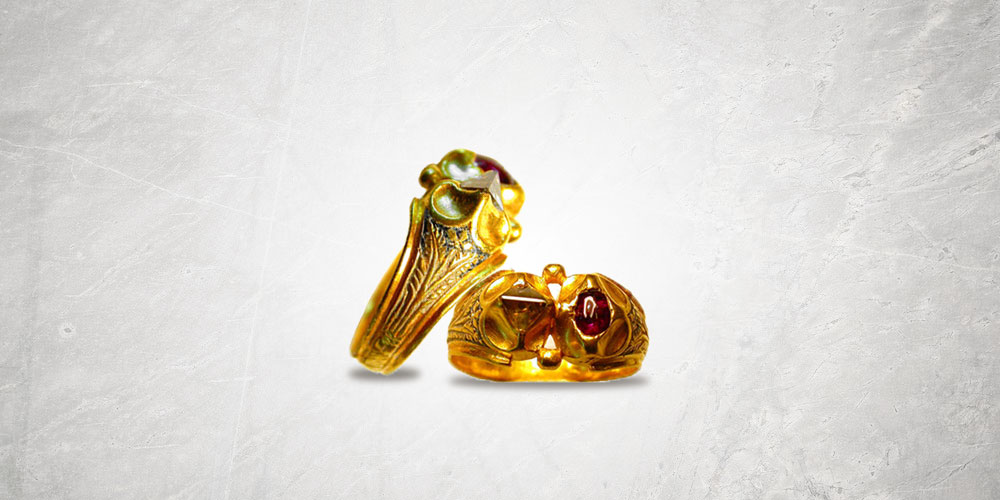
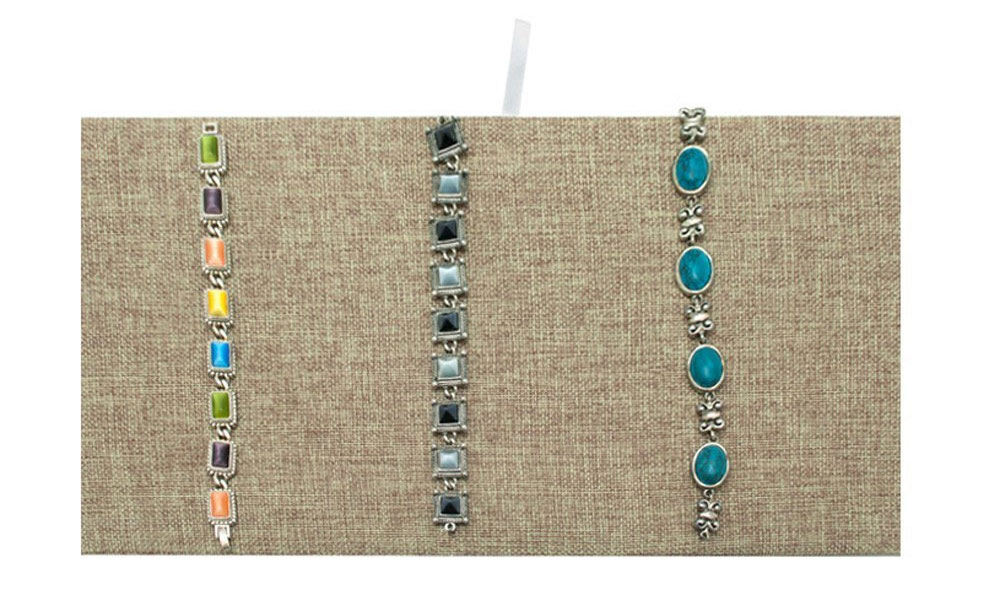
Egyptian and Greek rings tended to be more simplistic jewelry. English jewelry was the opposite. English jewelry of the 1100’s had elaborate gemstones and settings. This was mainly due to the belief that gemstones contained otherworldly powers, giving the wearer insight, protection or knowledge. Inscriptions also became very popular around that time as well, French inscriptions being the preferred choice.
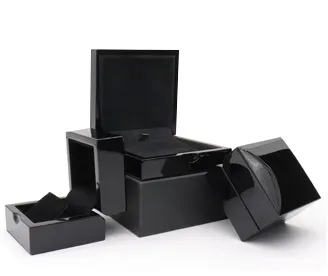
We can still see this preference in today’s rings both in engagement rings and casual rings. Large statement stones sometimes need a light source to show their true beauty and colors. Here are 3 boxes we recommend pairing with your jewelry arrangement/proposal to add to the uniquity of your piece.
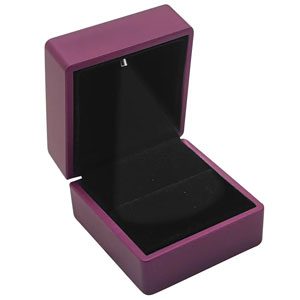
Purple Lighted Ring Boxes 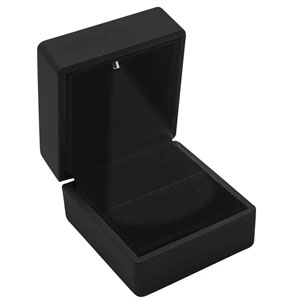
Black Lighted Ring Box 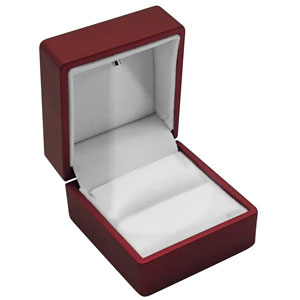
Red Lighted Ring Box
Non-Traditional Rings – Unique Materials
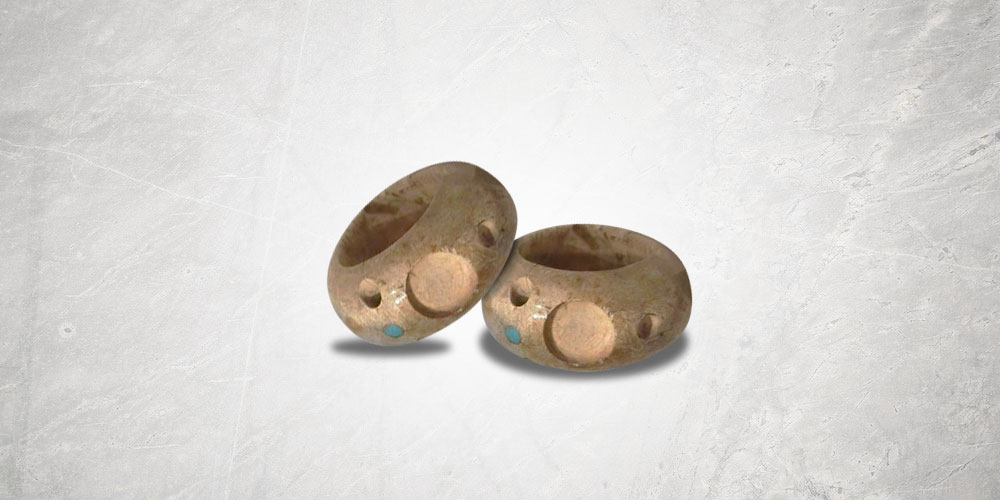
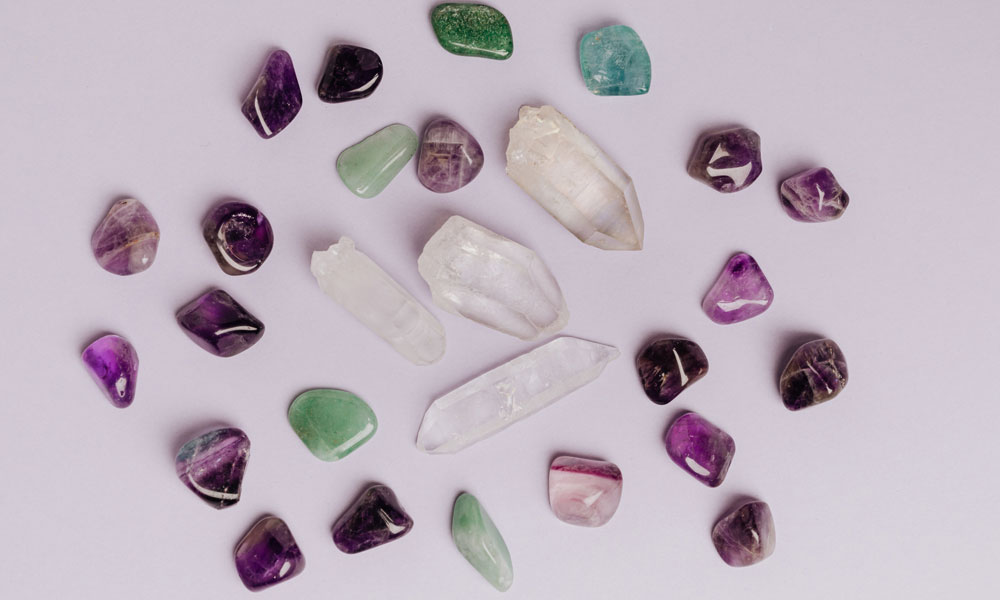
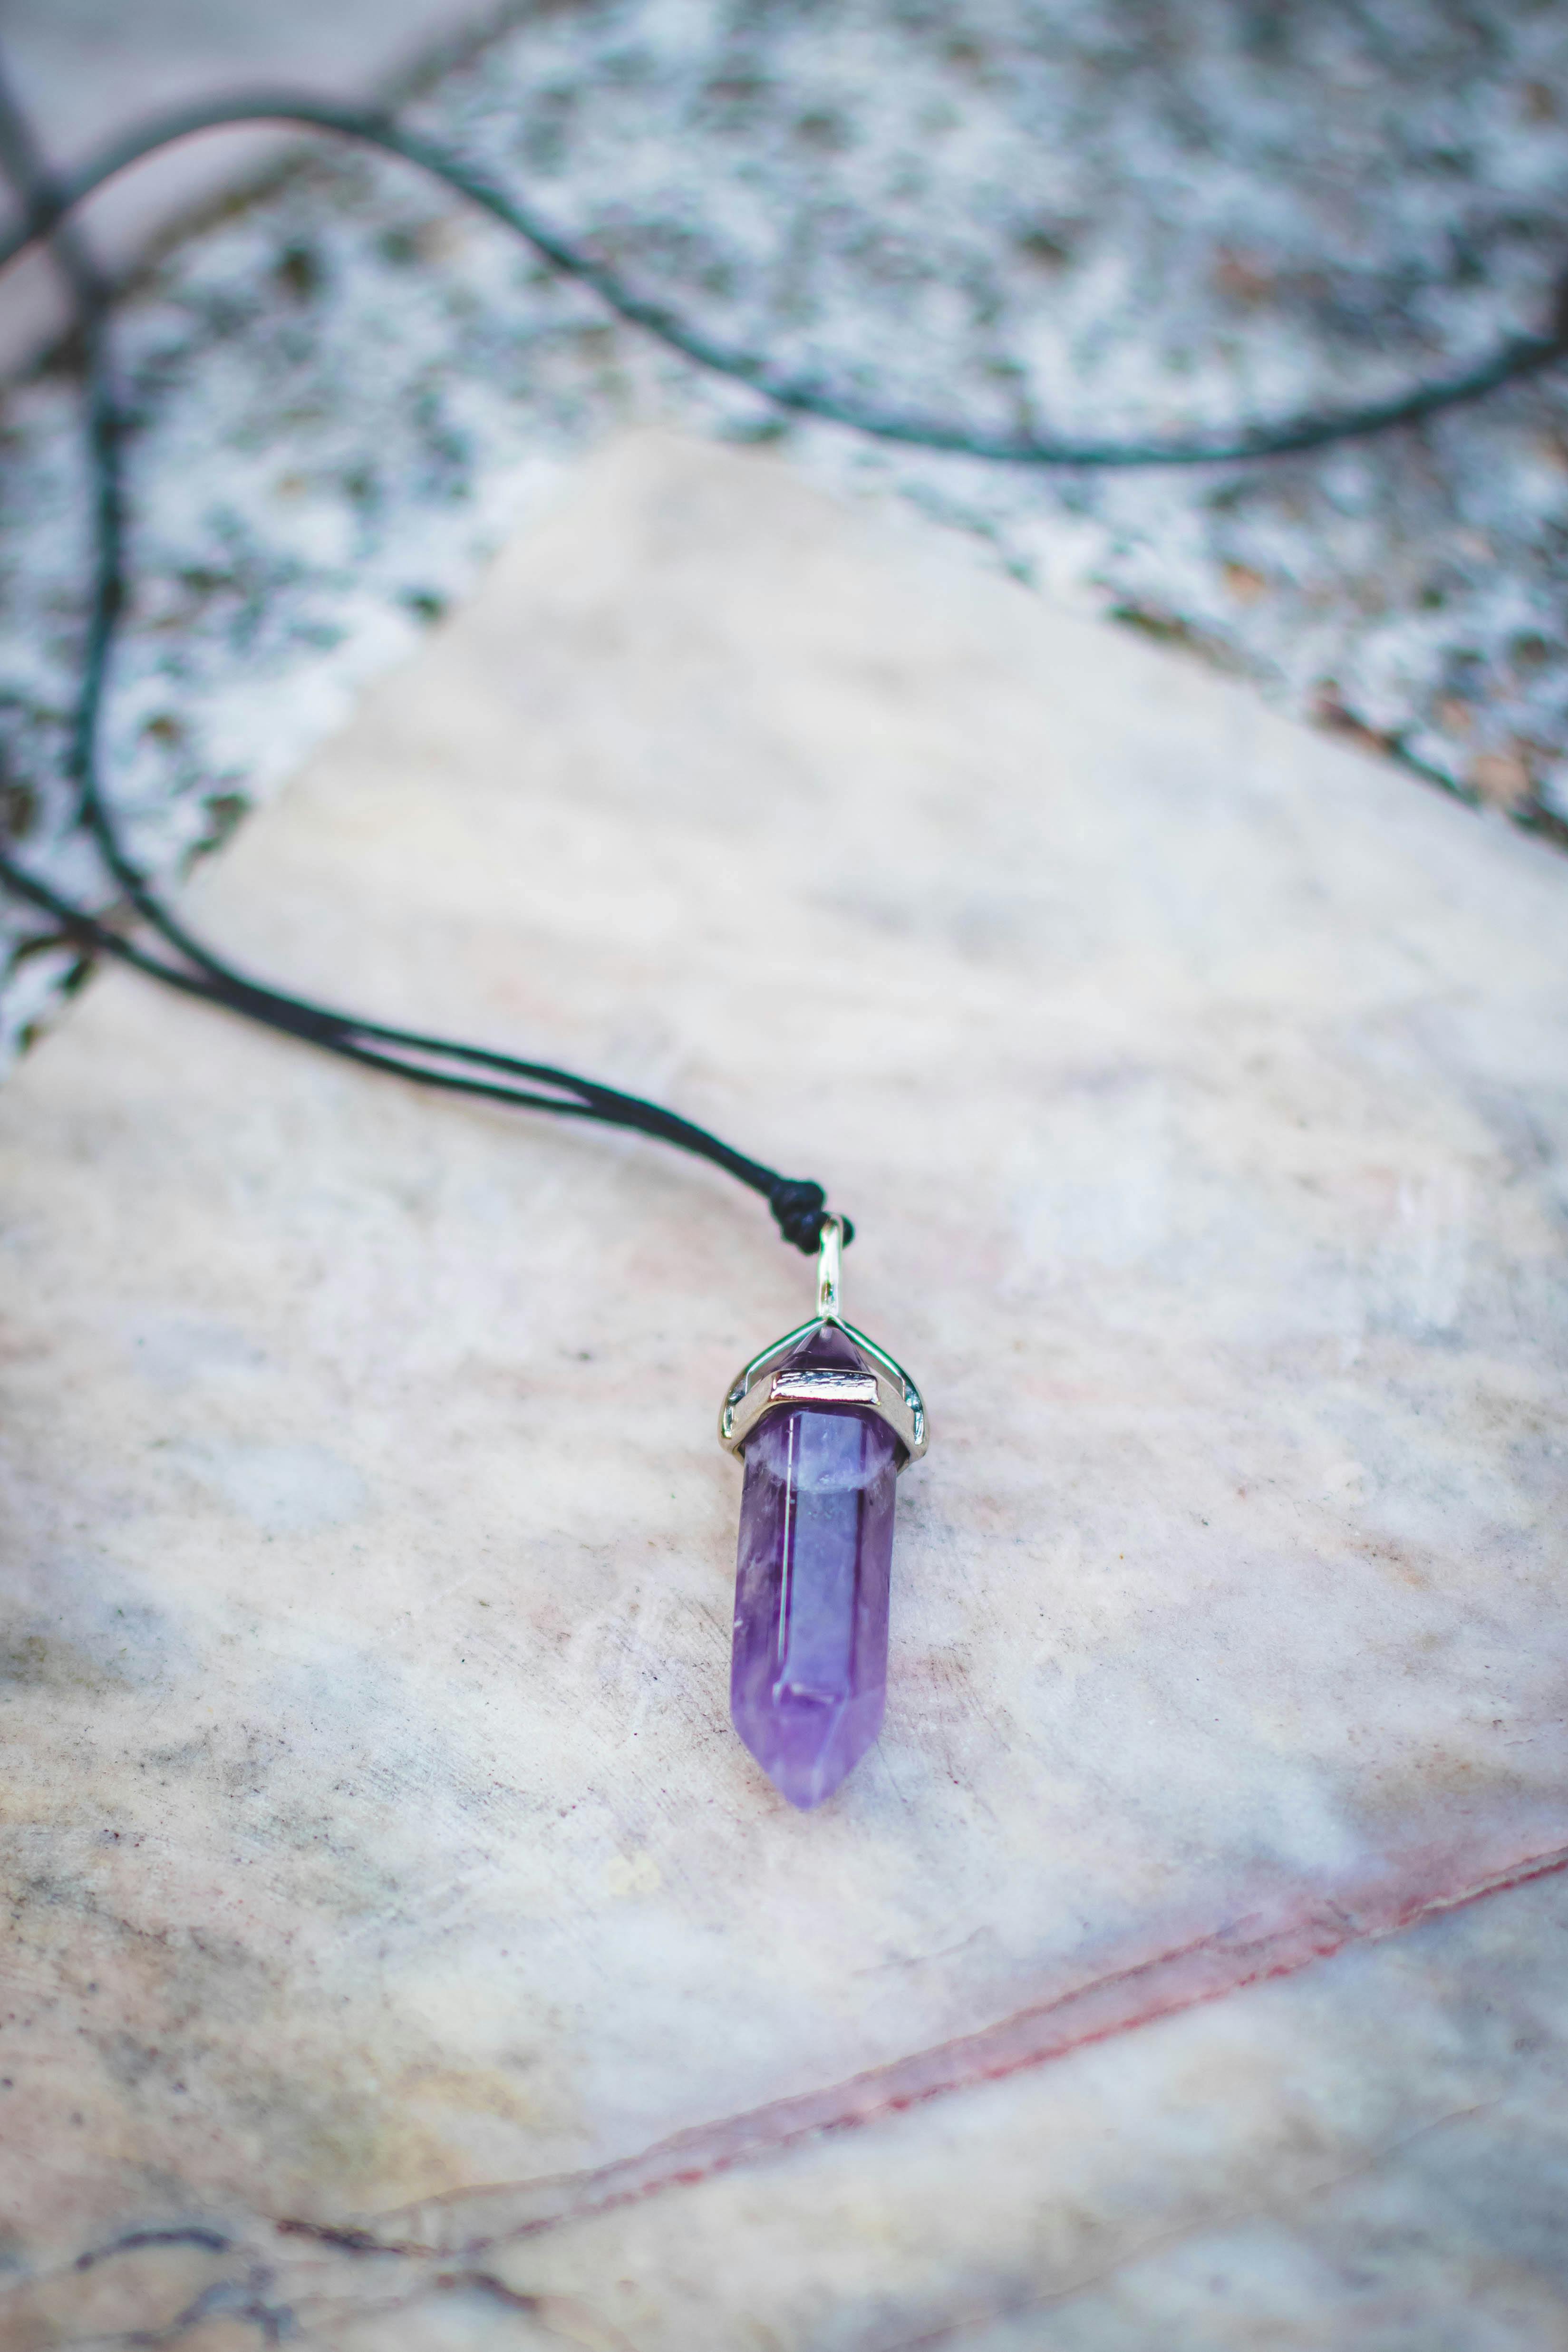
We have explored the more traditionally made rings, but what about the more unique rings and their roots? Rings have been made with metals tracing back as far as Egypt, but nonconventional materials can be traced back even further. Recently, archaeologists discovered bone jewelry dating back 150,000 years. It’s true, rings made from stone, bone and shell can trace their origins to prehistoric times. However, these unique jewelry materials can also be seen in Chinese Traditional rings. Some of these oriental rings were made of wood, bone, but more often Jade (a cherished stone of that time). Much like the Egyptians, Greeks, and English, these rings were seen as signs of status, wealth and power.
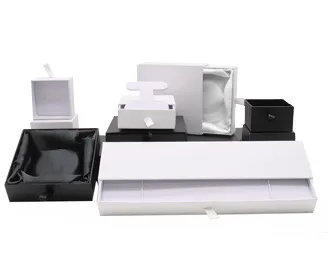
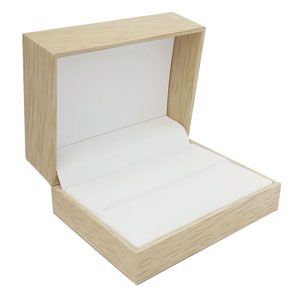
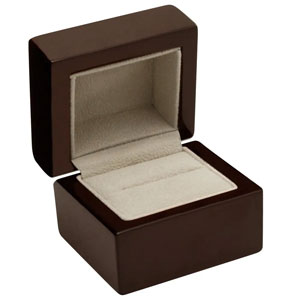
Today wooden rings, or metal rings with a wooden inlay are very popular. Considering this preference traces back 150,000 years, this comes as no surprise. Why not pair these rings up with a box that emphasizes this natural earthy feel? Below are 3 excellent recommendations for your natural wooden jewelry.
As anyone can see, jewelry has a long history of significance to many cultures. So, the next time you open a jewelry box, and there you see a pendant from a loved one, know this: That gemstone has 150,000 years behind that design. Something to reflect on this Thursday morning.